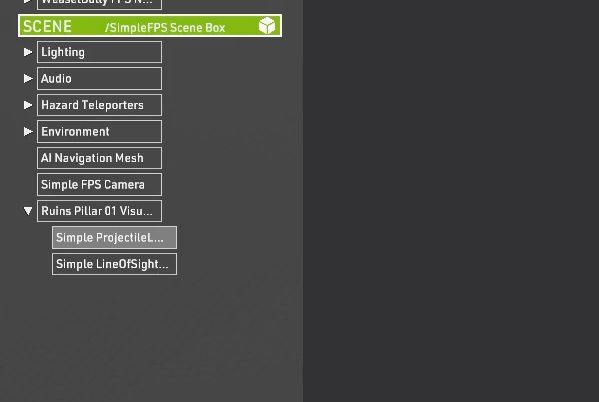
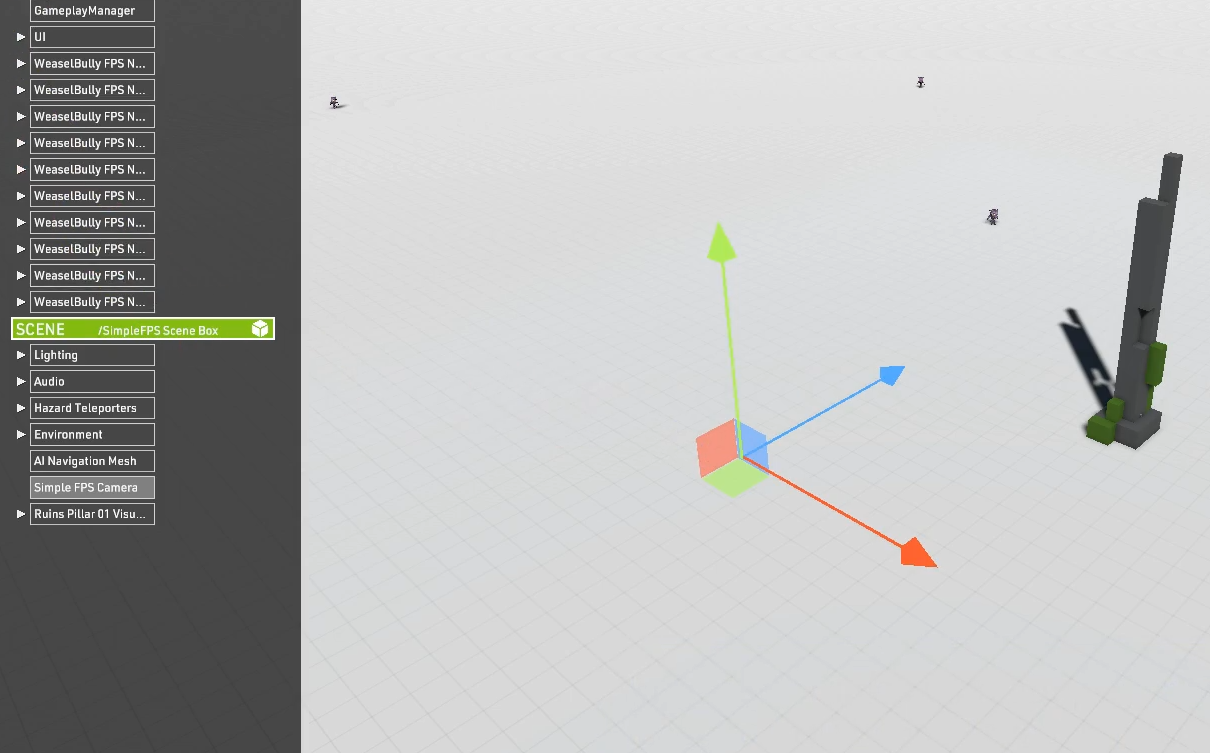
Drag the gray "Ruins Pillar 01" to your Project Hierarchy Panel.
Make sure that Asset is selected, and that the Properties Panel is open.
Numerically set its Position to 0, 0, 0.
Numerically set its Scale to 3, 5, 3.
Add Assets Required For The Projectile Launcher[ | ]
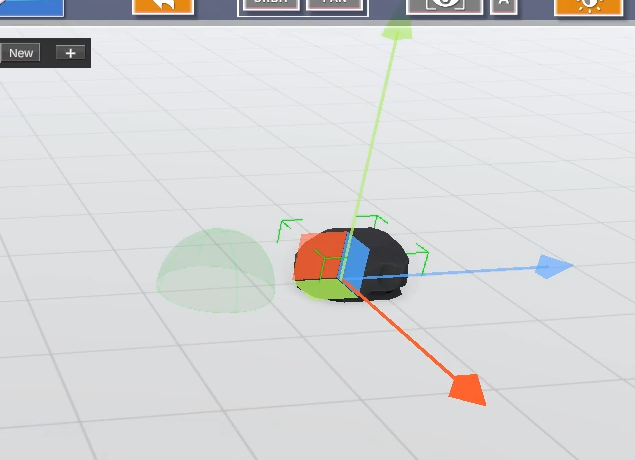
Right click on Ruins Pillar 01, and select “Create Empty” from the dropdown that appears. Rename the empty object you just created to “View cone”.
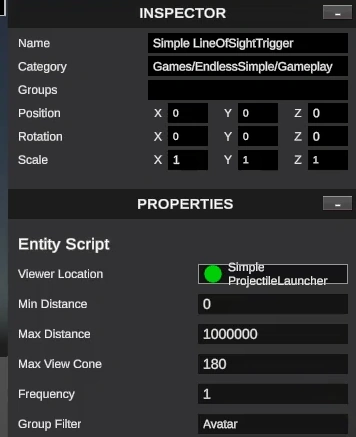
Search for “lineOfSightTrigger” in the Library, and drag the lineOfSightTrigger script onto the View Cone entity you just created. Drag the view cone object onto where the lineOfSightTrigger says Viewer Location in the Properties Panel. Then set the position of "View Cone" to 0, 2, 0.
Search for "launcher" in the Library.
From the Library, drag the "Launcher Arrow" onto the existing "View cone" in your Project Hierarchy. This makes the former a child of the latter.
Now, you should have "Ruins Pillar 01" with the child object of View Cone, and View Cone with the child of Launcher Arrow
Setting Up The Tower's Detection Of The Avatar[ | ]
Click on the Launcher Arrow that is a child of View Cone, and under Properties, click on New Script. Type “Simple Look At” where it says Script Name
Type in the following code below the closing curly brace of the Endless_Update:
private void Endless_Update()
{
}
//Write your function here
[EndlessEventVisible]
public void lookAt(Vector3 target)
{
        transform.LookAt(target);
}
The entirety of the “Simple Look At” should look like this:
using System.Collections;
using System.Collections.Generic;
using EndlessEngine;
using UnityEngine;

namespace Default
{
    public class simpleLookAt : EndlessBehaviour
    {
        // Use this for initialization
        private void Endless_Start()
        {
        }

        // Update is called once per frame
        private void Endless_Update()
        {
        }

        [EndlessEventVisible]
        public void lookAt(Vector3 target)
        {
            transform.LookAt(target);
        }
    }
}
Click on “Save” on the bottom, and then click on View Cone in the Hierarchy.
Click on the "View Cone" child of "Ruins Pillar 01"
Set "Line Of Sight Trigger"'s "Max View Cone" to 180. This makes the tower able to see you in all directions. In this case, 180 means that the view cone's size is 180 degrees in each direction, so a value of 180 makes the view cone actually 360 degrees.
Making The Tower Fire At The Avatar[ | ]
Select the “View Cone” child of "Ruins Pillar 01".
In the Properties Panel, Press the "+" on "Detected Object Event" so the "Target" field is visible.
Then, from your Project Hierarchy: Drag "Launcher Arrow" to that "Target" field.
Next, click the "No Function" drop down just below that "Target" field to see the available options, and select "lookAt". This will tell the launcher to look at whatever Avatar enters the view cone.
Repeat steps 2 through 4 again, so now there are 2 items below the “Detected Object Event”, except this time, select Fire() from the “No Function” Drop down. This will fire at the player once the launcher is looking at you.
You have now made it so when an Avatar is detected in the view cone, you make the launcher first look at, and then fire at the player. Click on the "View Cone" and set the frequency to 10, this will ensure that the arrow fires slowly at the beginning. You may decrease this value to increase the difficulty of your game.
We are almost done with this portion, at this point it's a good idea to move (in your viewport) your Avatar to some reasonable distance away from tower for ease of play. This will just make it so you don't start the game right on top of this tower we just created.
Now you can play to test, you should have a tower that fires arrow projectiles at you all the time.
From here, you can optionally save your current game, and you can move on to the next part.
Making The Projectile Look Like a Rock: Initial Setup[ | ]
Search for “projectile arrow” again in the Library.
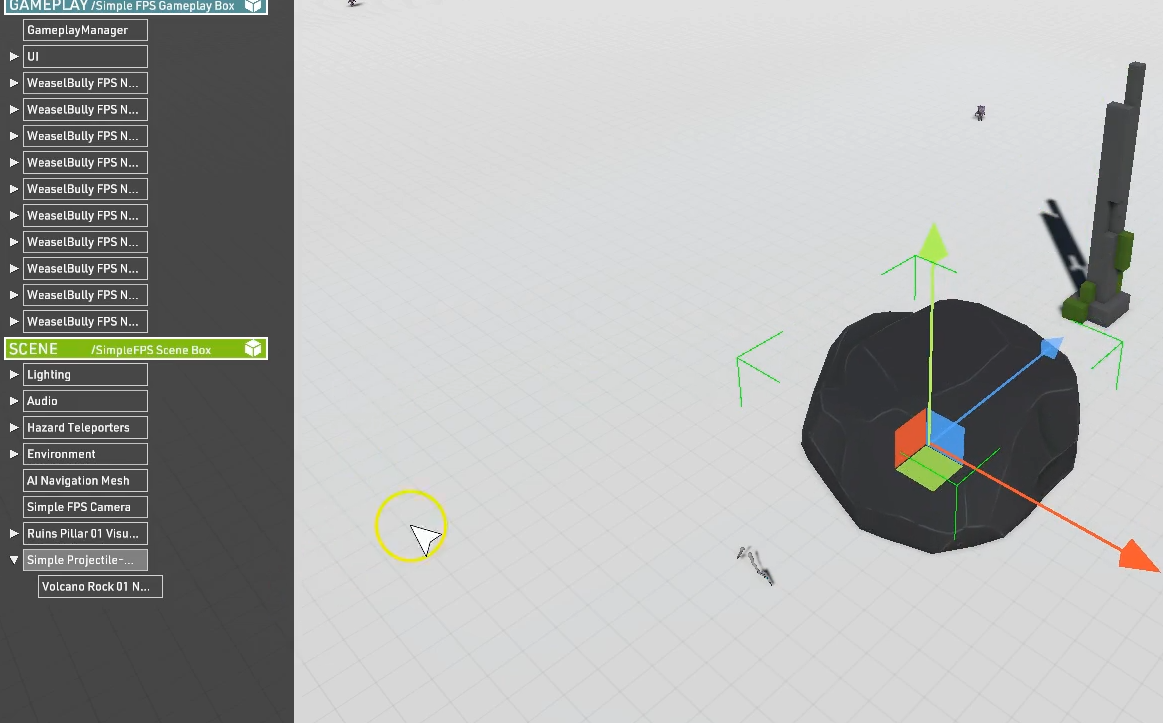
From the Library, drag the "Projectile Arrow" to your Scene. We are going to use this as the basis to create a new projectile that looks like a rock.
Now, search for "rock" in the Library.
From the Library, drag "Volcano Rock 01" onto the "Projectile Arrow" you just added to your Scene. This makes this rock visual a child of the previous Asset we just brought in.
Next, in the viewport, move "Projectile Arrow" (its child rock visual should move with it) away from the previously-made pillar to give yourself some extra room. Delete the “Human Archer Arrow Visuals” child of “Projectile Arrow.”
Unifying The Collision & Visuals Of The Projectile Rock[ | ]
Select "Volcano Rock 01" and make sure that the Properties Panel is open.
Numerically set its Scale to 0.1, 0.1, 0.1.
In the Viewport, horizontally move the "Volcano Rock 01" a little distance away from its parent so you can compare its size to the visible collision box’s size.
Select the "Trigger Volume" child of Projectile Arrow and set its scale to 0.8, 0.8, 0.8.
Now, both collision and visual should look about the same size.
Making The Projectile Rock Inflict Damage & Export To Library[ | ]
Select "Projectile Arrow" with the rock visual in your scene.
Set its "Damage" Property to 20.
Set its "Max Life Time" Property to 5.
Now, our projectile setup is complete. Let's save this out to our Library. Right-click "Projectile Arrow" and select "Save As". Choose a new name "Simple Projectile Rock".
For our purposes, we actually don't need this Asset to remain inside our game anymore. From your Project Hierarchy, Right-click the newly saved "Simple Projectile Rock" and select "Delete".
Final Tower Setup[ | ]
Finally, all we have to do now is tell the tower to fire this new projectile rock we just saved.
From your Project Hierarchy: Expand "Ruins Pillar 01/ View Cone" and select child "Launcher Arrow" so that the Properties Panel is visible.
Next we are going to tell the projectile launcher to use the projectile that we just saved to the Library. This is an example of how Assets in your Game can use references to Assets that are stored in the Library.
Search for "projectile rock" in the Library, you will see the Asset you just exported, "Simple Projectile Rock"
From the Library: Drag "Simple Projectile Rock" to the Property "Projectile to Spawn" on "Projectile Launcher". This replaces the arrow with the rock we made.
At this point the tower should be firing rocks that inflict damage at you! Go ahead and press Play to test your work. From here, you can optionally save your current Game, and you can move on to the next part.