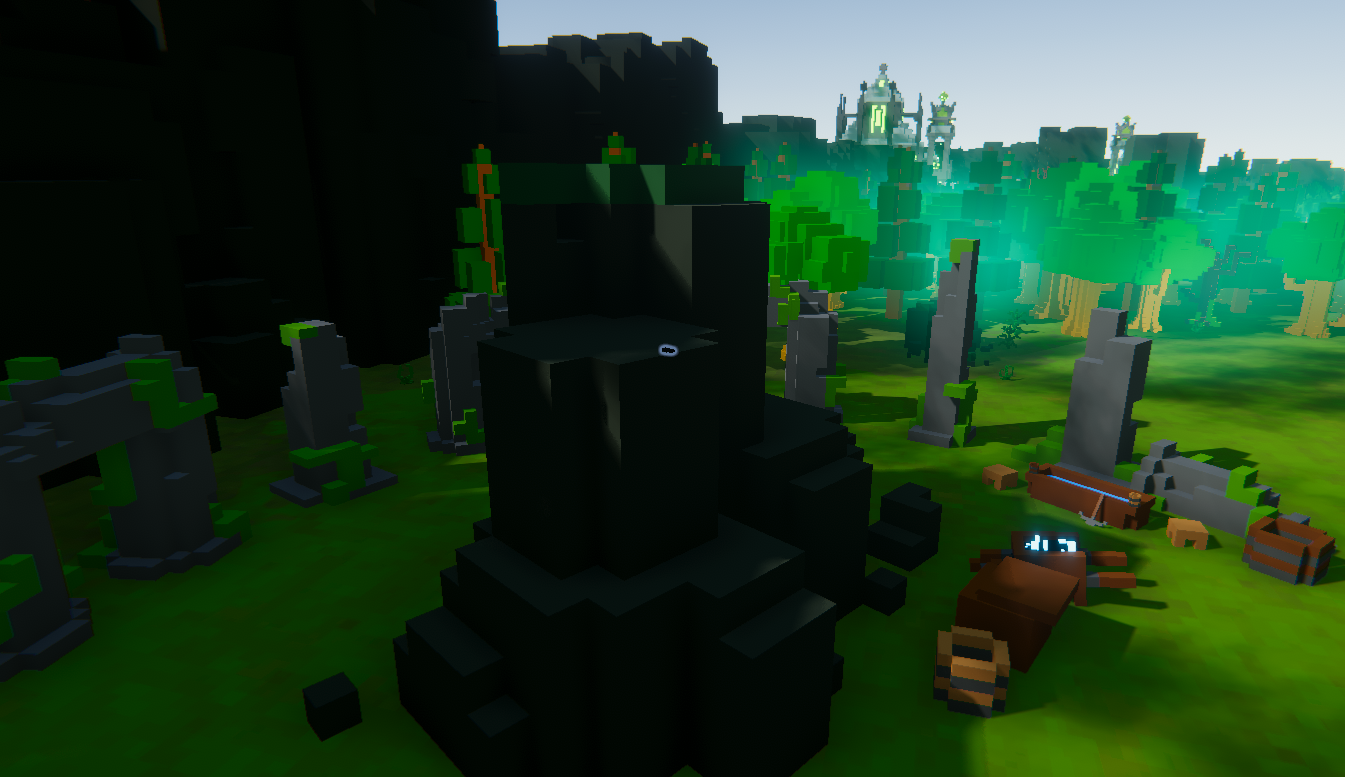
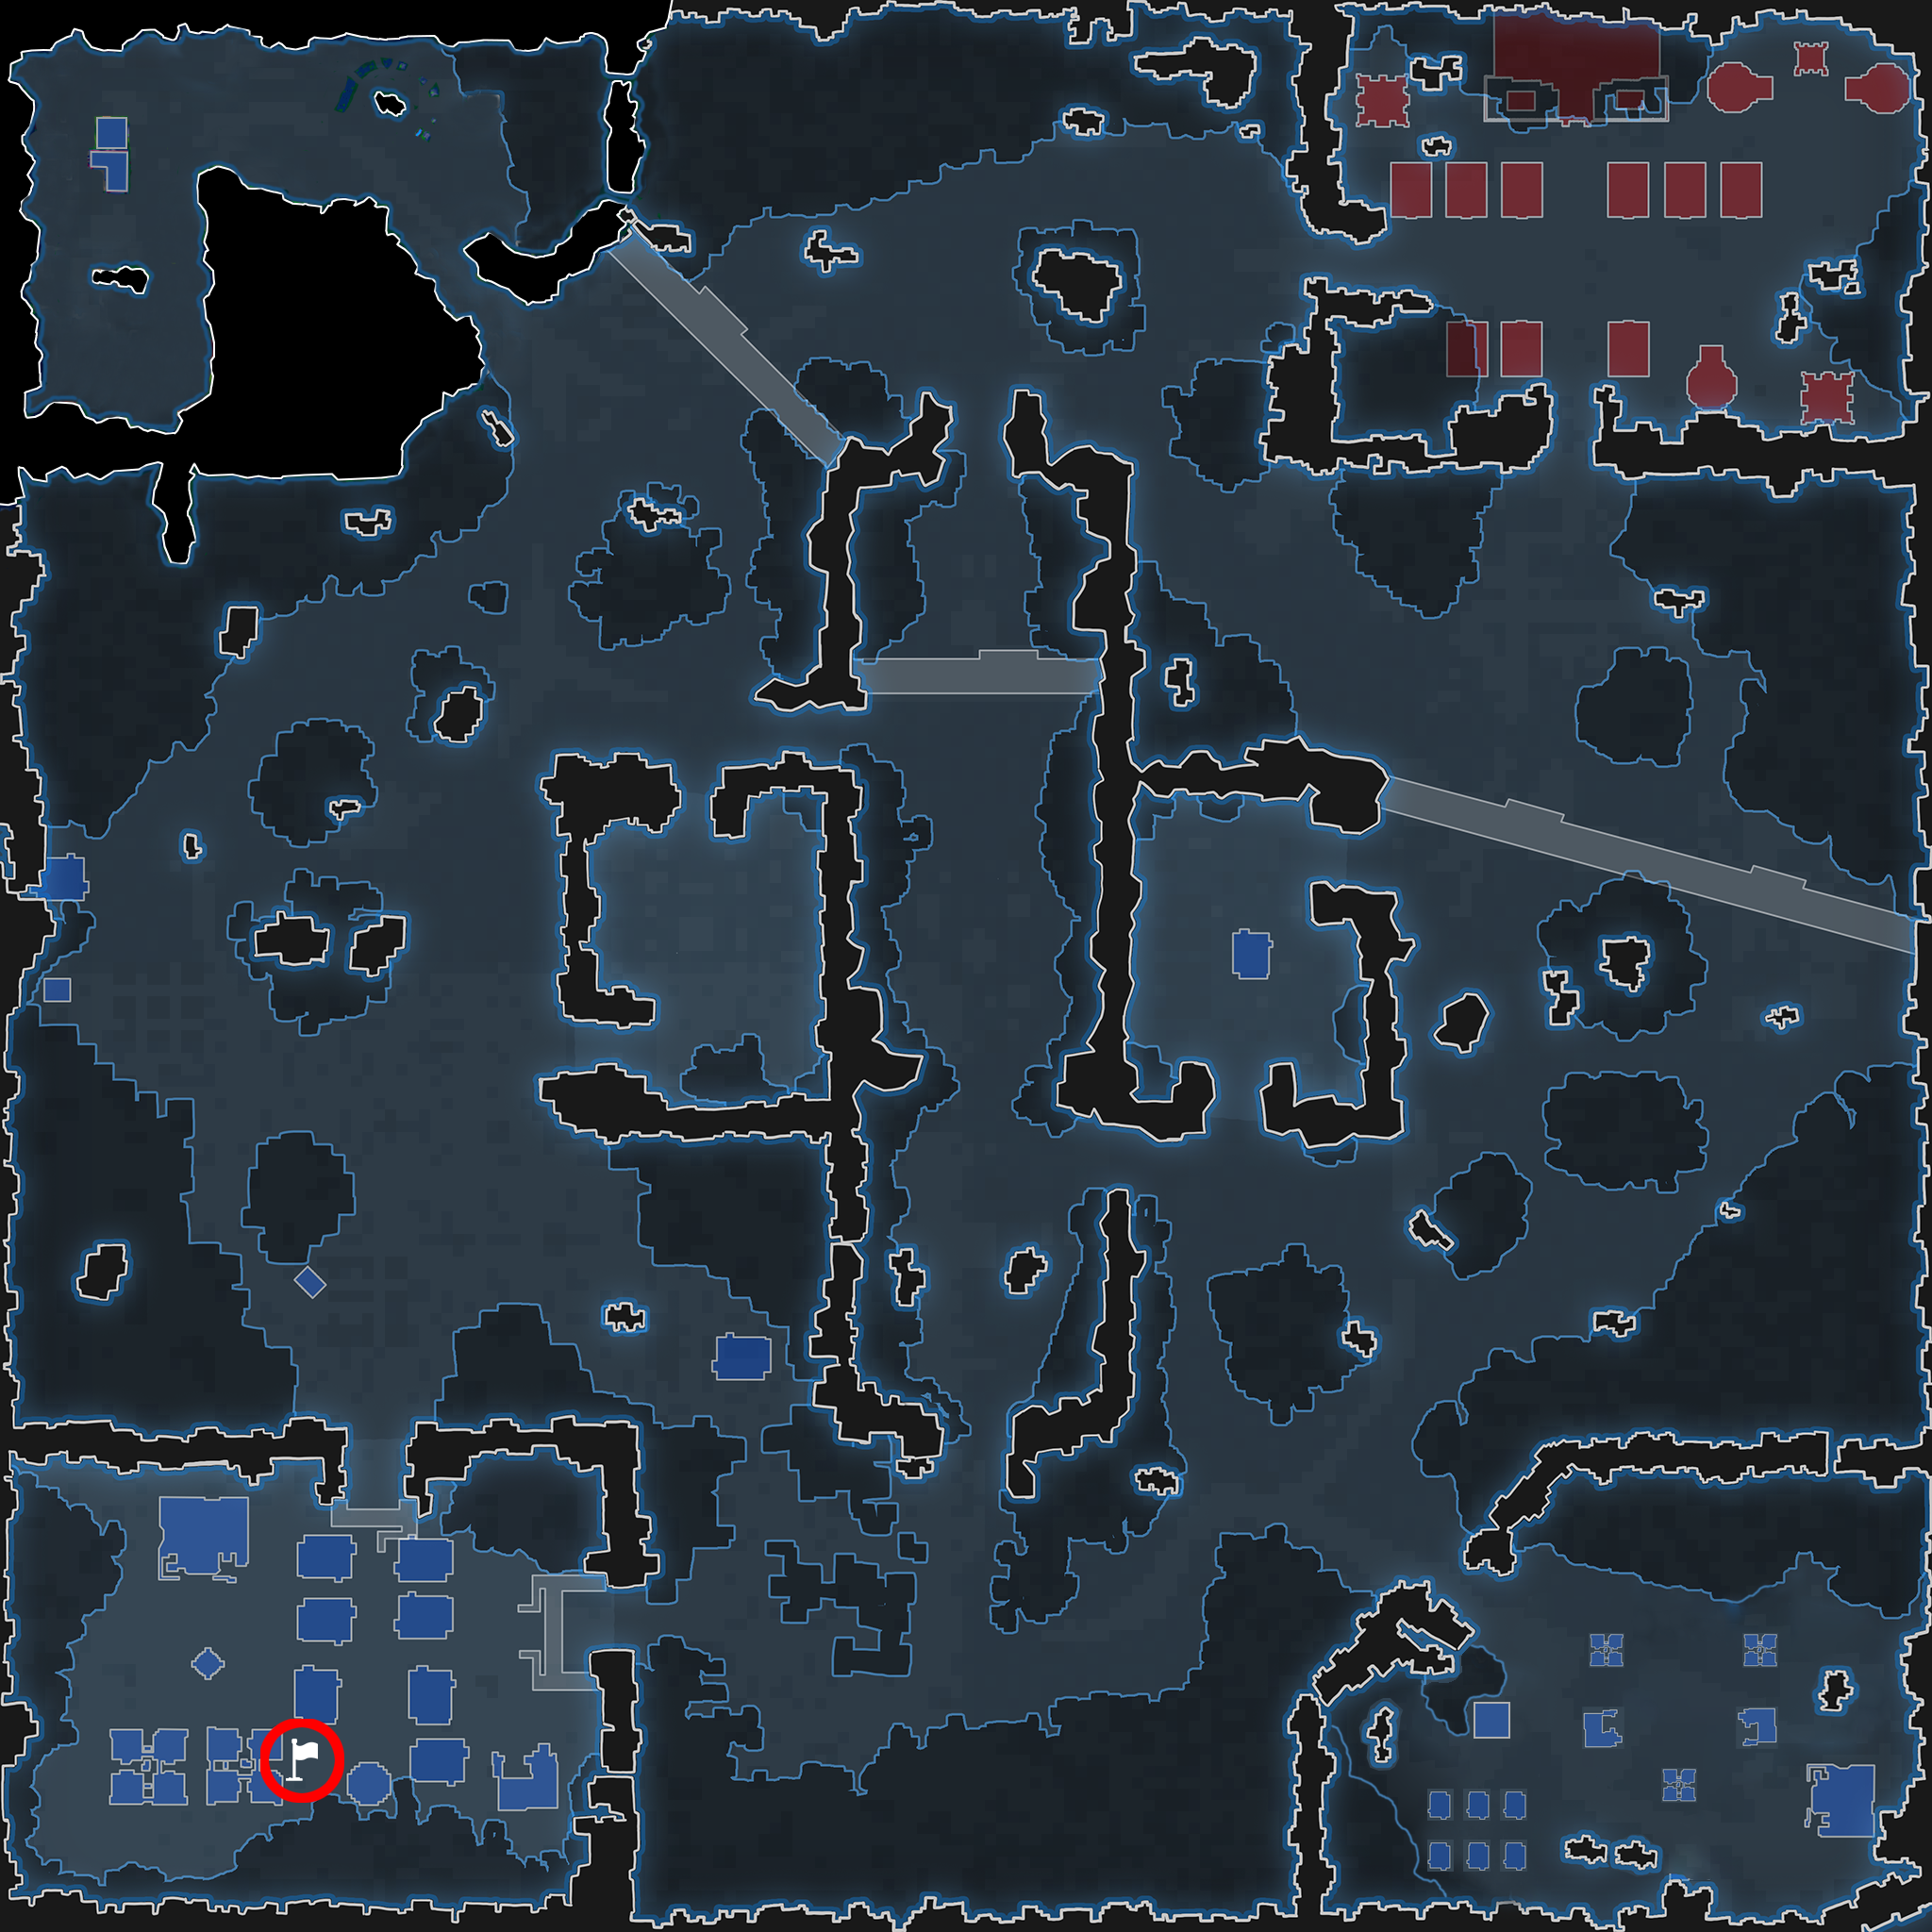
Either in-between the two main mission lines or at the end of the second mission line, you will be given access to wander freely throughout the entire RTS world. Icons will begin popping up on the compass and the map indicating various activities that they can get involved in. There are Side Missions to get involved in, Lore Collectibles to find, Respawn Towers to unlock and just general sites to see. Below is a partial list of things you can come across.
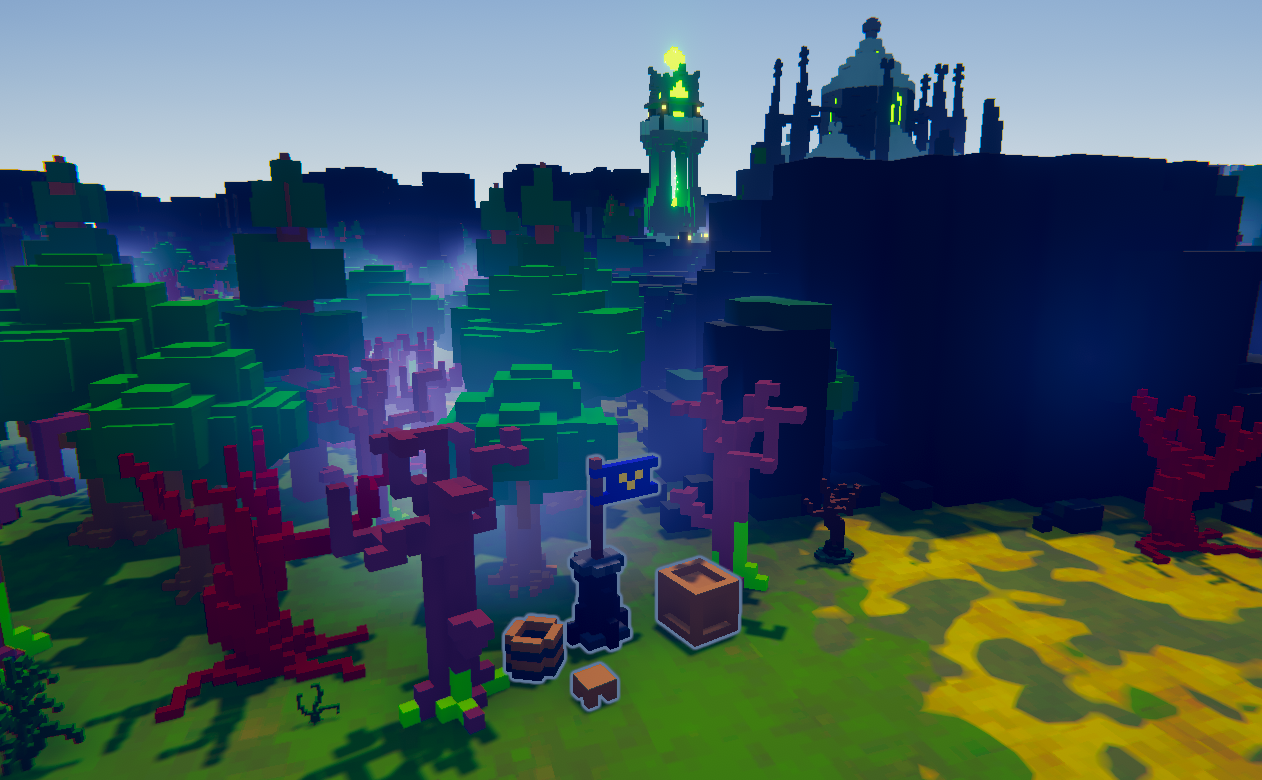
Side Missions are similar in structure to many of the tasks found in the main missions. They are straight forward and usually contain a single task for the player to do. If you fail to do it, the mission will start over giving you another chance to complete it. If you succeed in completing it, a Flag Icon will appear somewhere in the area and interacting with it will let you play the mission again.
If you don’t feel like completing the mission you are on, you can always just walk away from the area. This will end the mission and you are free to head off and try other things.
Mining Camp Chaos[ | ]
Synopsis[ | ]
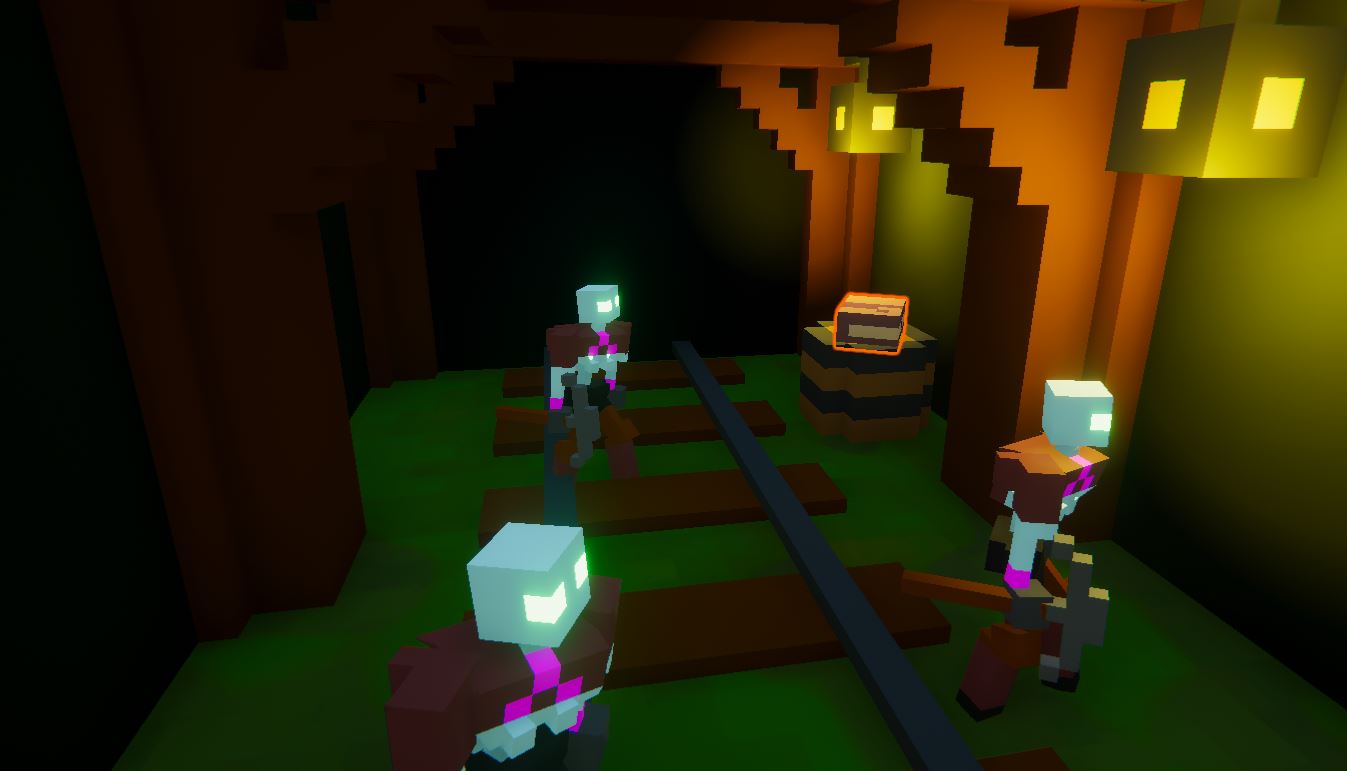
Defend the ore deposits in the cave from waves of Undead Workers.
Hint[ | ]
Hint
Always keep looking around. Undead Workers can show up at any time.
Solution[ | ]
Solution
You fail the mission if the Undead Workers end up mining all the ore in the cave. So don’t let them do that! Your best bet is to use the Damage AoE Mod if you have it, but if you are doing this side mission before you have acquired it from the Graveyard battle in Chapter 2, then plan to do a lot of sniping from a distance with the Modify Health tweak as well as running up to Workers to take them out by hand with the Sword
If you’ve already done the Crossover Mission, the Dash is great for closing distance quickly and destroying large amounts of Workers who are swarming around the ore.
Always keep looking around as the Workers are spawning all the time. There are three different mine entrances that they can come out of.
You only have to survive a certain number of waves, so as long as you stop them from mining every piece of ore you’ll win. If you find the area getting low on ore you can choose to stand your ground by one piece and defend it with everything you have.
Construction Destruction[ | ]
Synopsis[ | ]
The village is trying to expand but the Undead are certainly making it hard for them. They could use a little protection while they get their structures up and running.
Hint[ | ]
Hint
Whatever you do, don’t let them destroy the Watchtower.
Solution[ | ]
Solution
In this Mission, the Undead are trying to destroy the under-construction buildings of New Village. You have to hold them off for multiple waves and make sure they don’t complete their task. You can lose a few buildings as long as one of them is not the Watchtower (the big wooden tower right by the entrance). If they destroy the Watchtower, you lose the mission. So, make sure any time you see any enemies heading that way you take care of them immediately.
Keep looking around. The Undead tend to spawn in from multiple directions, usually close to the same area but not always. As long as you are aware of your surroundings you should see them appearing. At some point, Green Mages will appear. Like in other situations, you should take them out as quickly as possible. If left unchecked even for a little while, they can quickly swing a winning situation into a losing one.
Being able to attack from a distance is very useful in this mission as the area you have to protect is quite large. Use the Damage AoE Mod if you have it, but if you don’t, the Modify Health tweak and your Sword can also do the trick.
If you’ve already done the Crossover Mission, the Dash is great for closing distance quickly and hitting a group of Undead who are swarming around the building. And the Head Stomp is great for taking out higher Hit Point enemies like the Dark Fighters and Death Knights.
Hilltop Farm Invasion[ | ]
Synopsis[ | ]
Defeat multiple waves of the Undead as they assault the Hilltop Farm, for... wheat-related reasons, no doubt.
Hint[ | ]
Hint
Use whatever skills you have to stay alive
Use whatever skills you have to stay alive
Solution[ | ]
Solution
In this mission, the Undead are completely focused on you. They don’t care about the building, or the crops, or anything else. As such, your main focus is to survive through the multiple waves of enemies that will attack you. You might need to rely on a lot more Hit and Run type tactics to survive.
If you have the Damage AoE mod, definitely use it here. It will make things much easier. The same goes for the Dash ability and even the Headstomp ability in some cases. Anything that can damage large groups of enemies will be beneficial. If you are doing this before you have unlocked any of those, you are going to have to rely on the Modify Health tweak to take out a lot of your opponents and then using the Sword on those that are immune to it.
Keep a close eye on your health and retreat to a safe spot as often as you can. You only have one life here, so if you die at any point in this mission you have to do the whole thing over.
Minor Miners[ | ]
Synopsis[ | ]
Jessica and Jeremy, also known as Jessemy, oh and also their friend Cubby, are apparently mining right next to the enemy wall. They need some help as this is a profoundly bad decision.
Hint[ | ]
Hint
Protect the workers using whatever skills you have. If all three of them die, you lose.
Solution[ | ]
Solution
In this mission, the Undead forces are focused on killing the Miners who have gotten to close to their territory. If you can keep the miners alive long enough to mine all the ore in the area, you win. So your primary focus is making sure they don’t all die.
Unlike other encounters, the enemies here will infinitely spawn until either all the ore is mined, or all the miners are dead. So there is no way to outlast your opponents, you have to make sure your allies can get the job done. Keep enemies off of them as best as you can. As soon as they get attacked, they stop working. So if you can keep them from getting hurt, they will mine the ore a lot quicker and the whole encounter will go faster.
Use whatever skills you have to defeat the enemies. Long-range type attacks will definitely help. The enemies don’t bunch up too much here, so the Damage AoE mod isn’t as effective here, and the Dash won’t be plowing through large groups, but both can still come in useful. You will have to do a lot of moving around to protect the workers as they are usually pretty spread apart doing their work.
Constantly be looking around. The enemy spawn from multiple directions and it’s easy to focus on saving one worker and not realize another has just gotten jumped. If worse comes to worst, you can always focus all of your attention on protecting just one worker, but it will take them much longer to mine all of the ore and give you the win. And the longer it takes, the more chance they have of getting killed.
Pro Tip: This event happens near the path of a wandering army. Depending on the timing, the fighting happening here might draw in extra enemies making the encounter that much harder. If you see them out wandering around, you might want to consider taking them out before starting this encounter.
Quaint Quagmire[ | ]
Synopsis[ | ]
Defend the quaintest farmstead ever from the Undead, thus preserving its quaintness.
Hint[ | ]
Hint
You have two structures to protect and line of sight is not optimal so keep moving and keep your eyes open and be ready to move quickly.
Solution[ | ]
Solution
In this mission, the Undead will be trying to destroy two different buildings that are separated from each other not only by distance but also by a fence that runs down the center of the property. That hard divide forces you to find quick ways to get through the only opening or to have to jump over the fence so you can quickly access the other side.
Once again, since enemies tend to clump up as they swarm their target, the Damage AoE mod and Dash ability work great here so use them if you have them. The double Jump is fantastic for quickly getting over the fence that separates the two buildings. If you don’t have those abilities yet, this one is much more challenging but still winnable.
You need to take out the enemies as quickly as possible. Hitting them before they get to the structures will allow your structures to survive much longer. Attack from a distance as much as you can and if they get past you and start swarming the structure, then go in swinging with the Sword. Since they are focused on destroying the structures, and not on killing you, you don’t have to worry about your own survival. Make sure you keep checking both structures. The enemies have a lot of visual obstructions that they get to go past so it's harder to see them approaching. You only lose if both buildings are destroyed, so if one gets taken down put all your focus into defending the other.
Pro Tip: This event happens near the path of a wandering army. Depending on the timing, the fighting happening here might draw in extra enemies making the encounter that much harder. If you see them out wandering around, you might want to consider taking them out before starting this encounter.
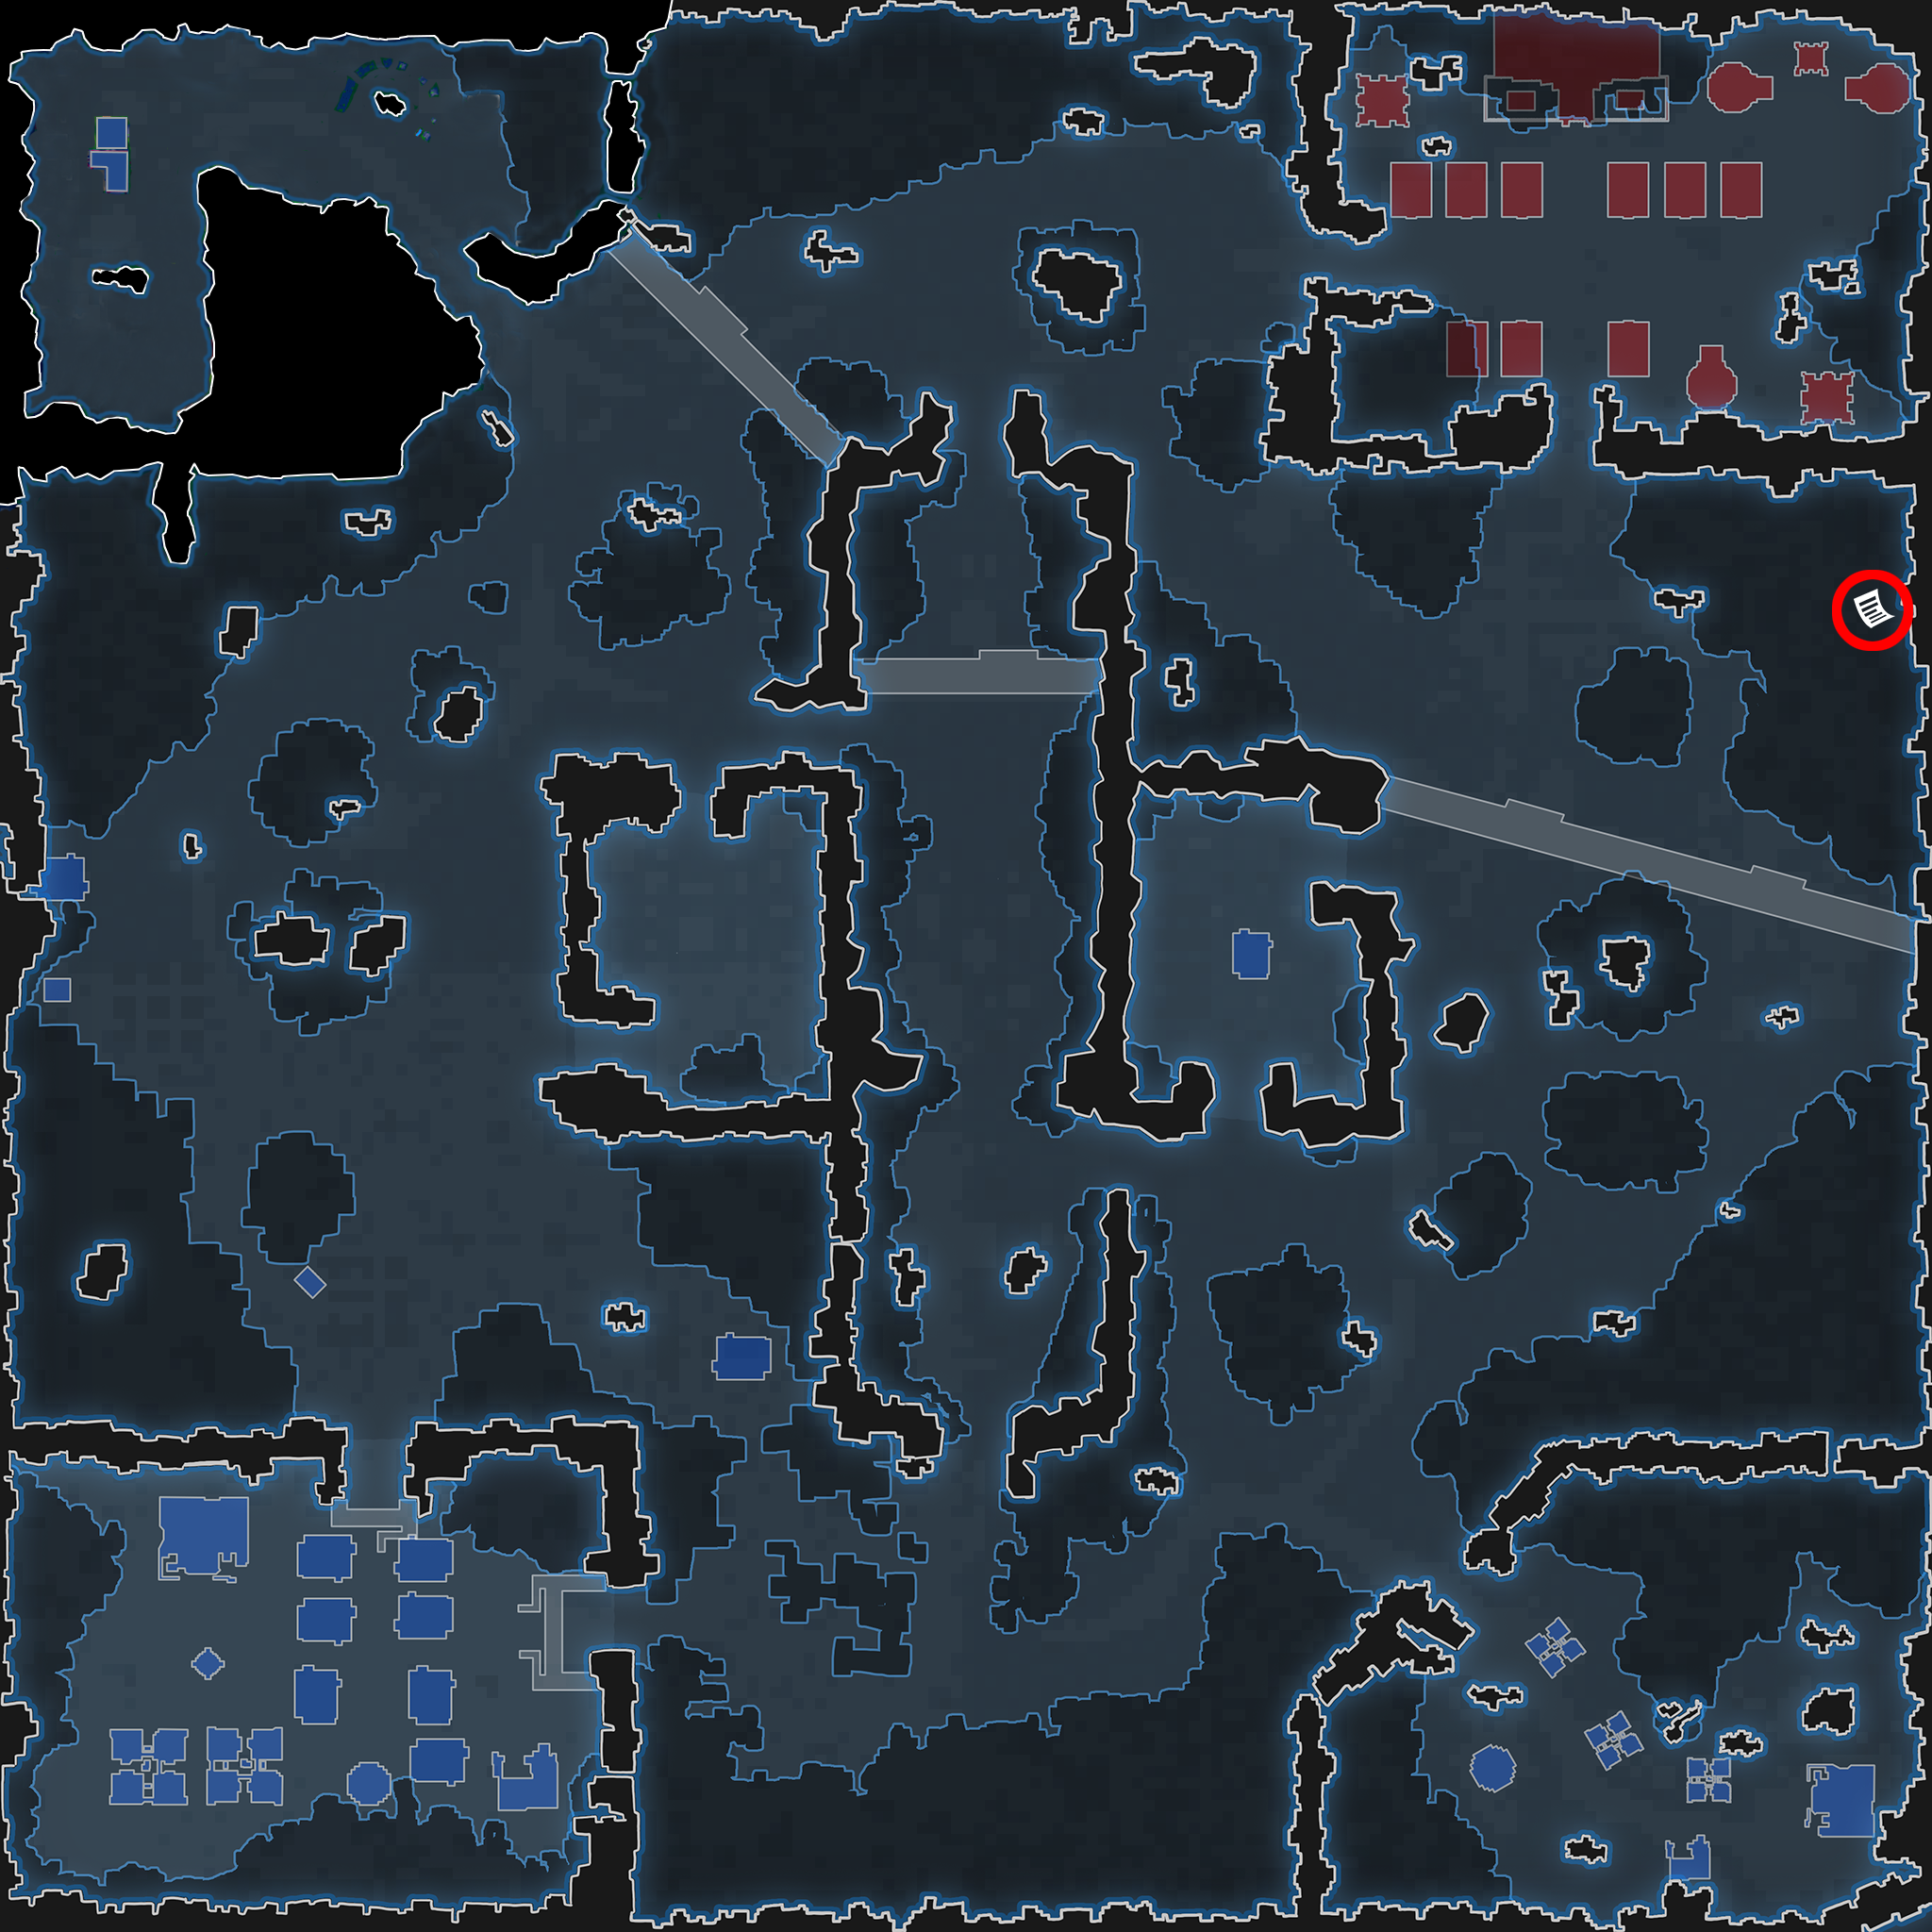
Lore Collectibles[ | ]
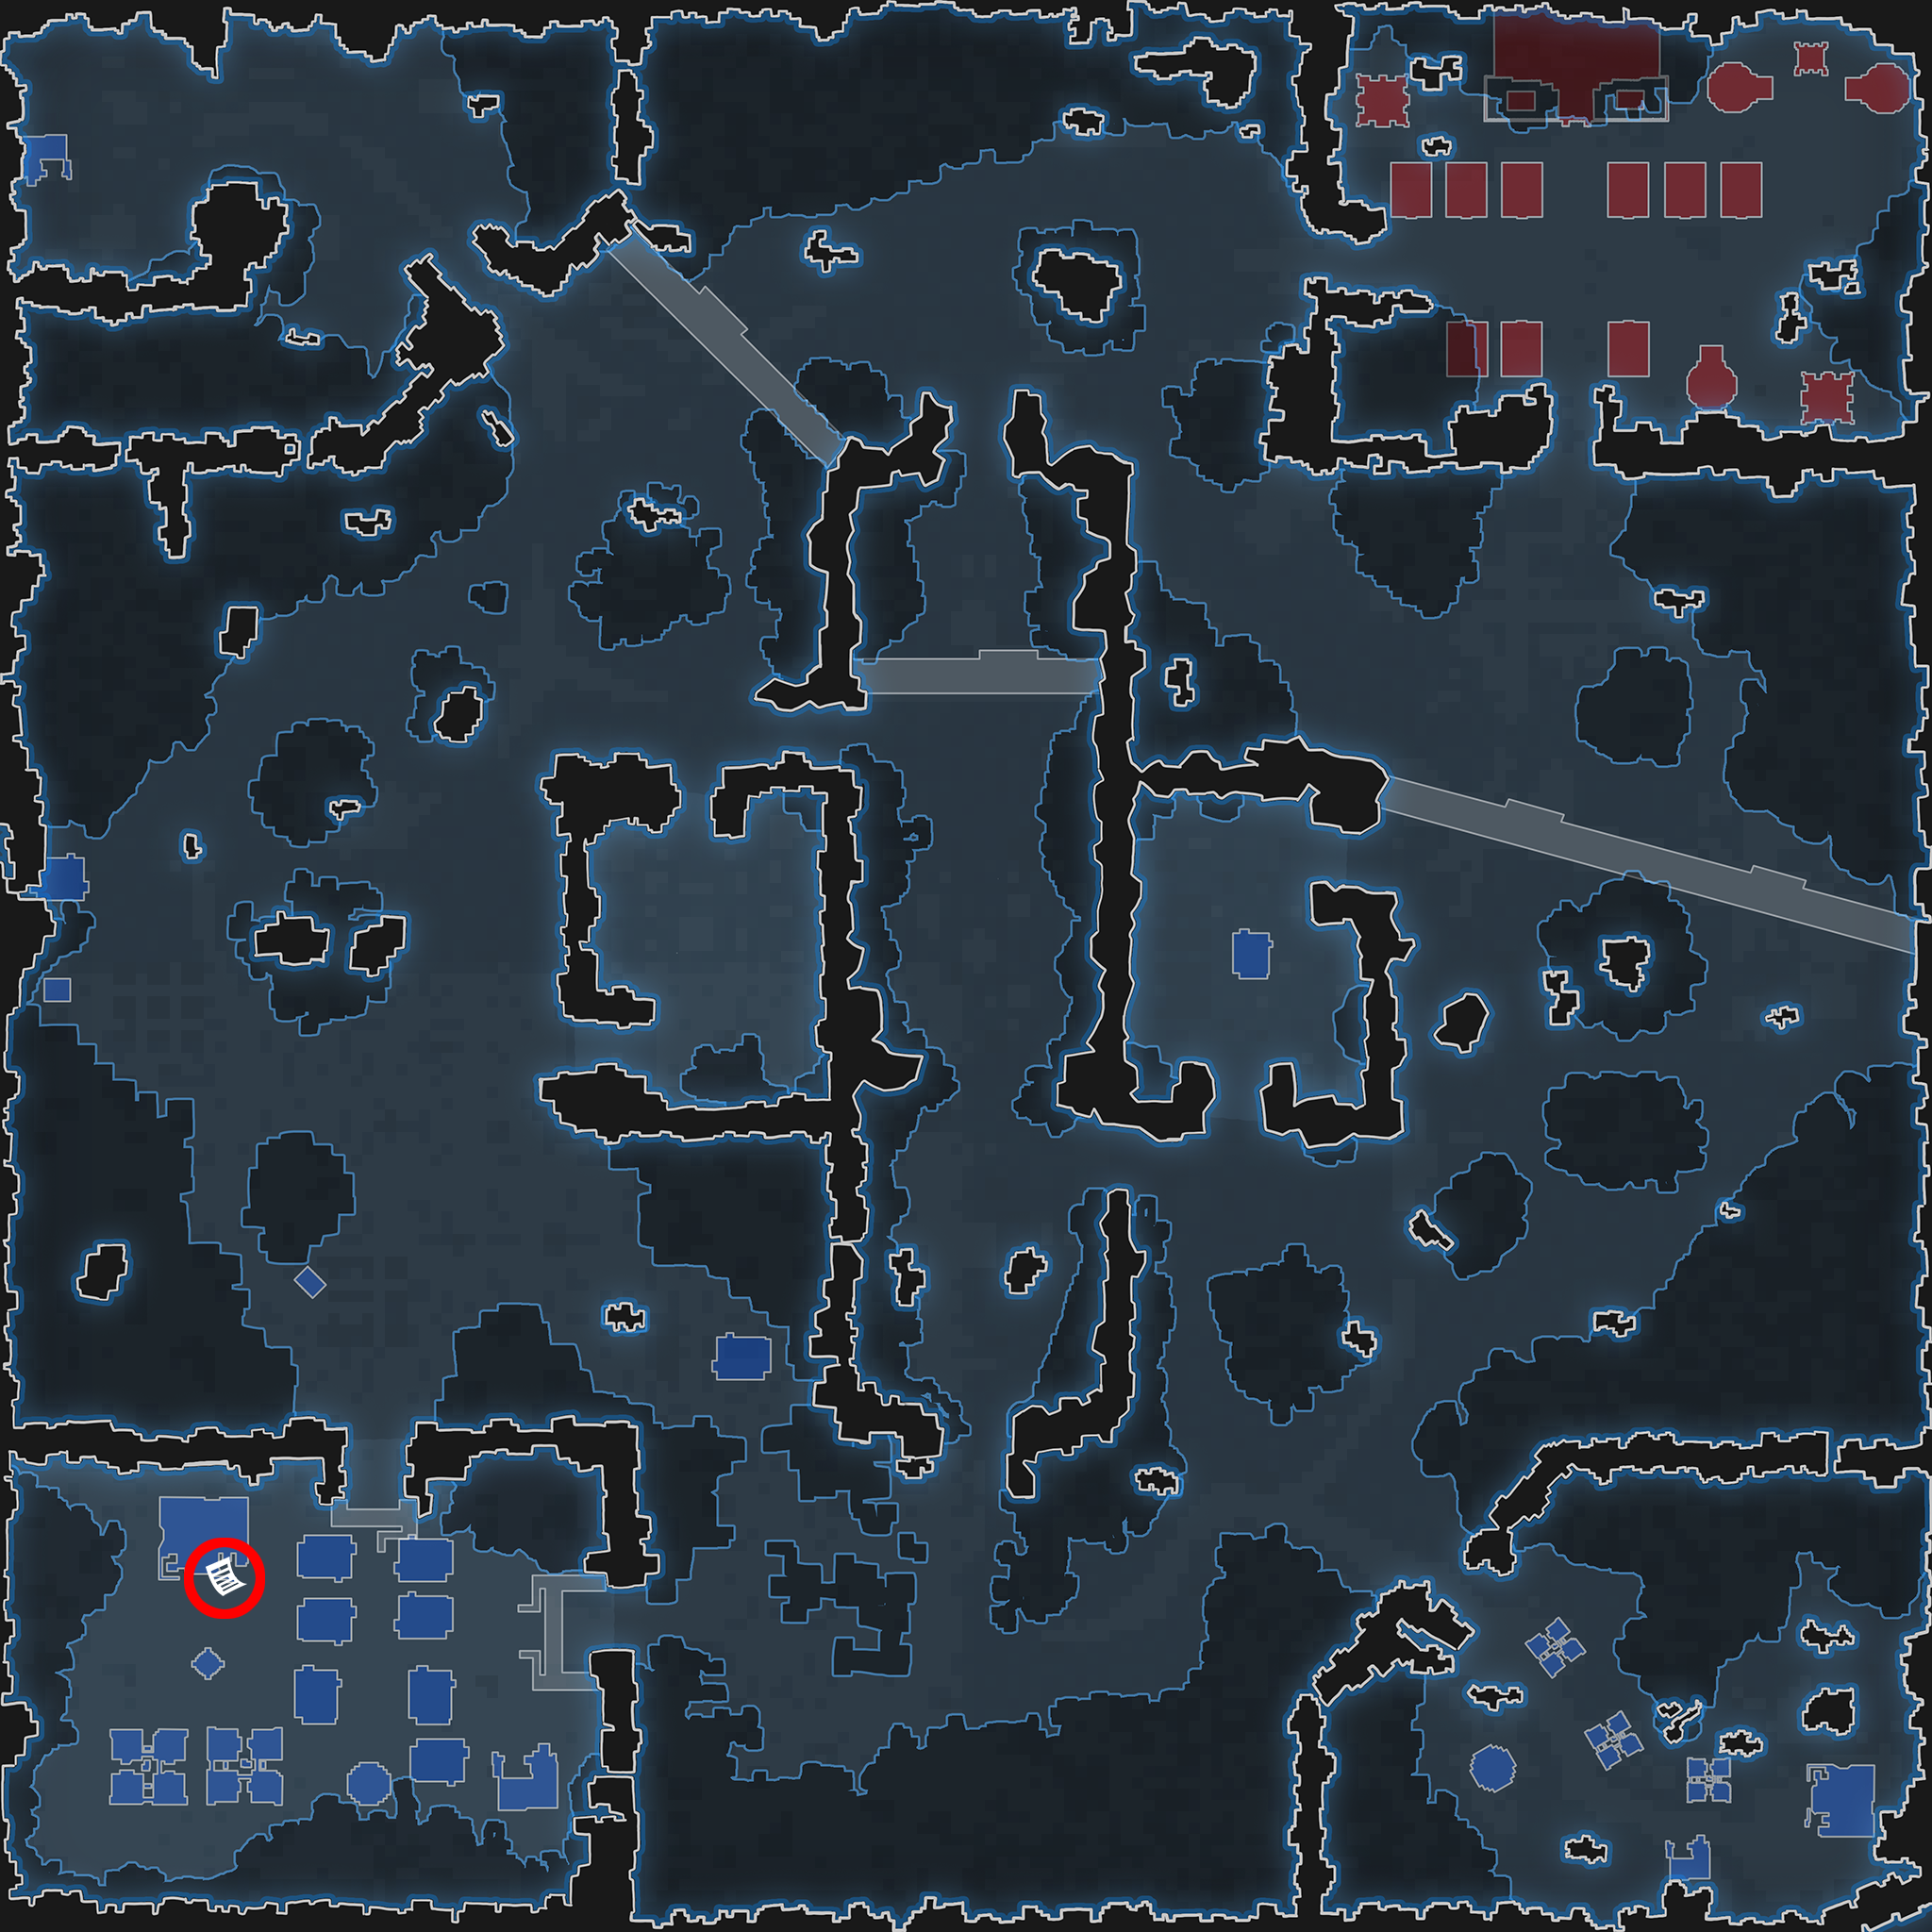
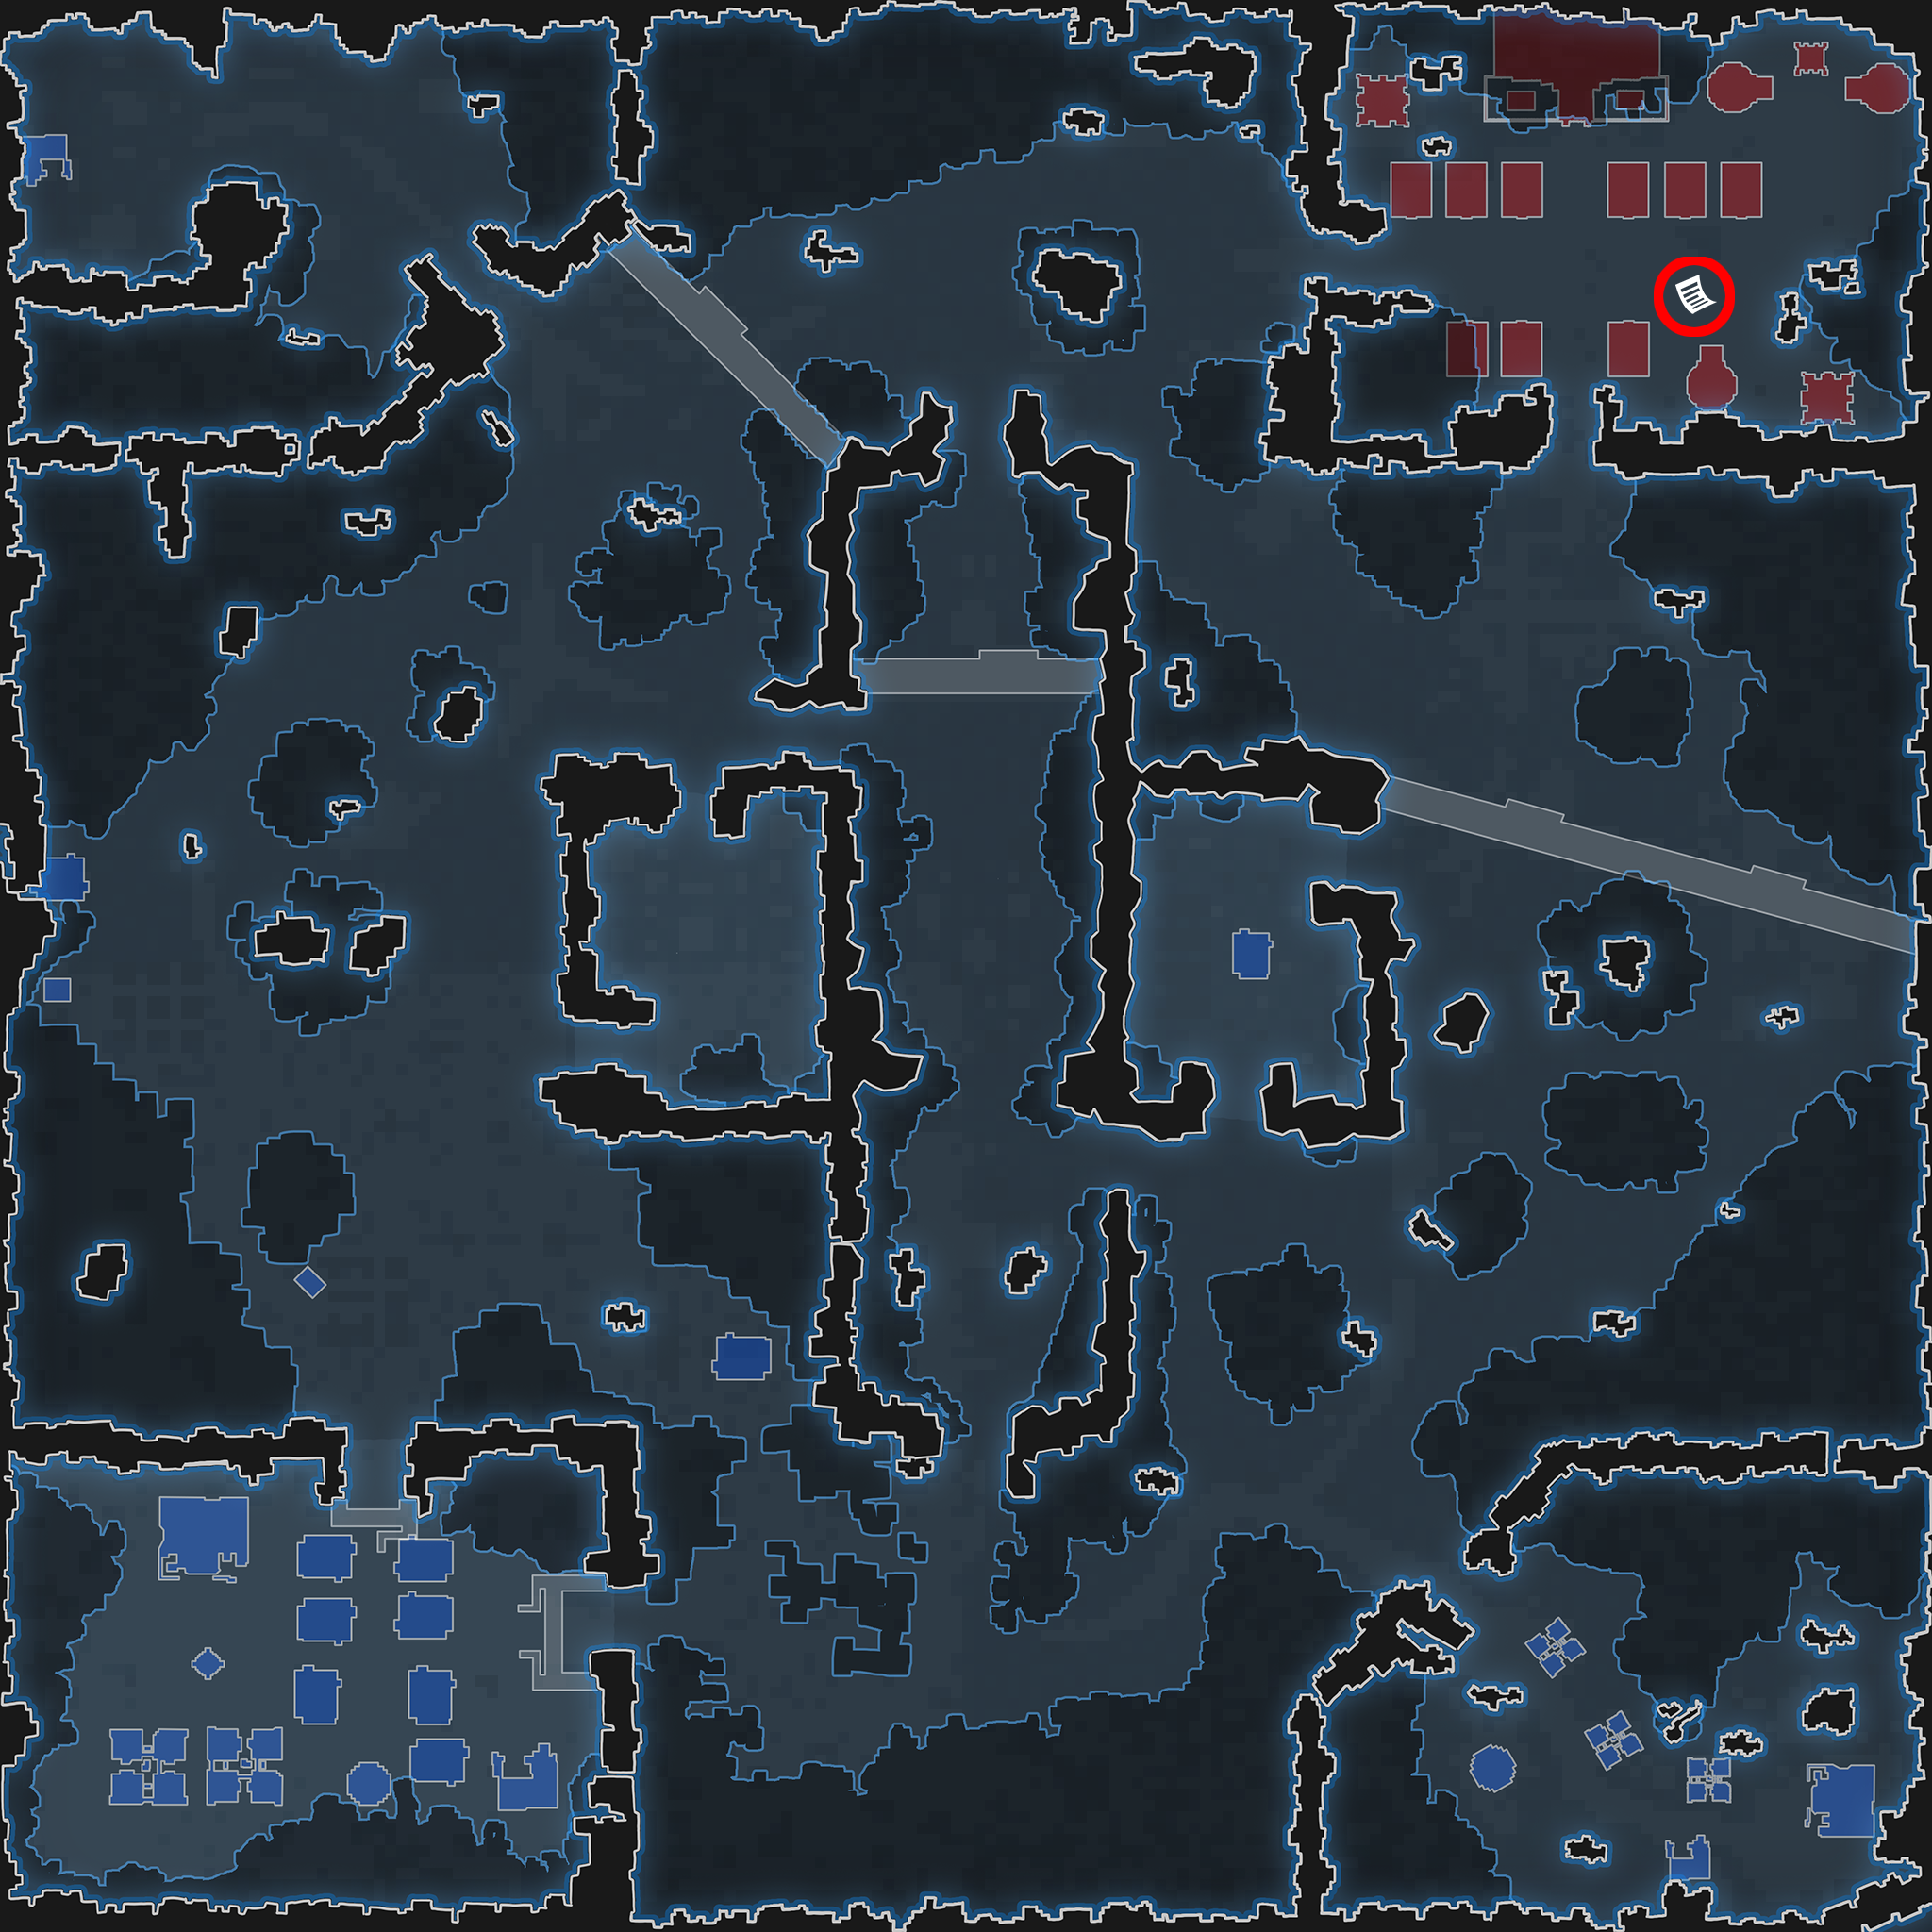
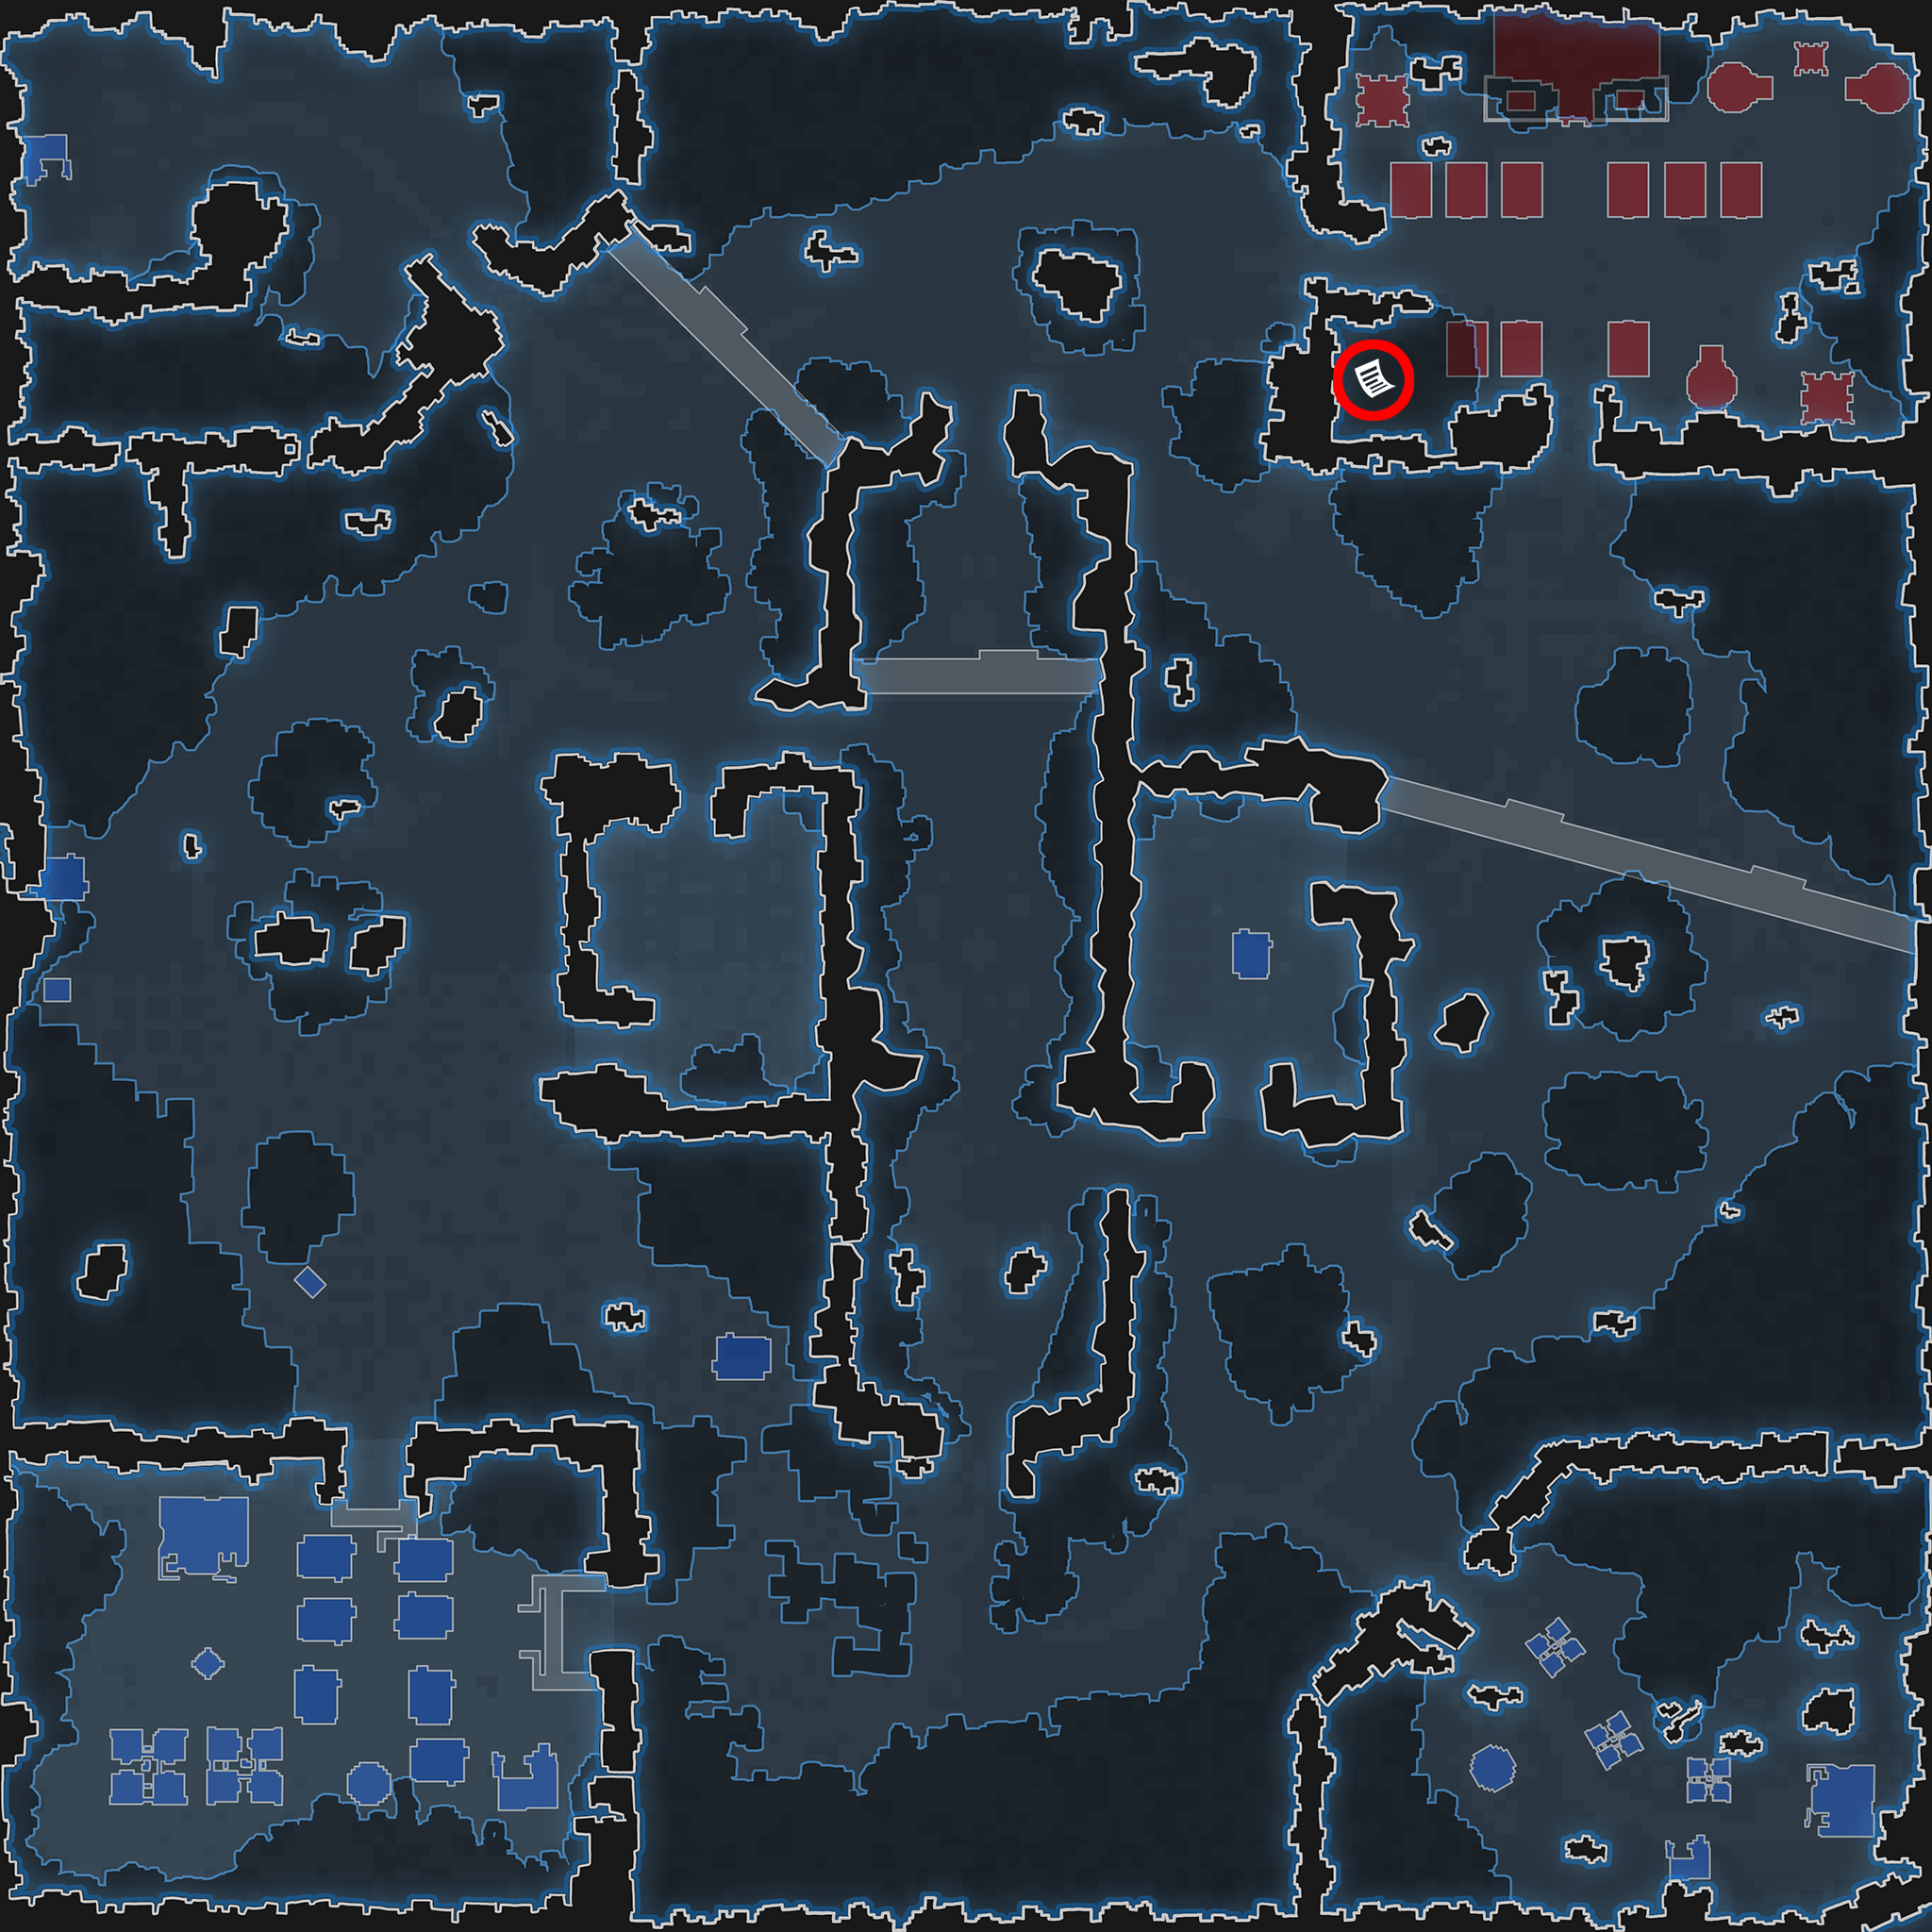
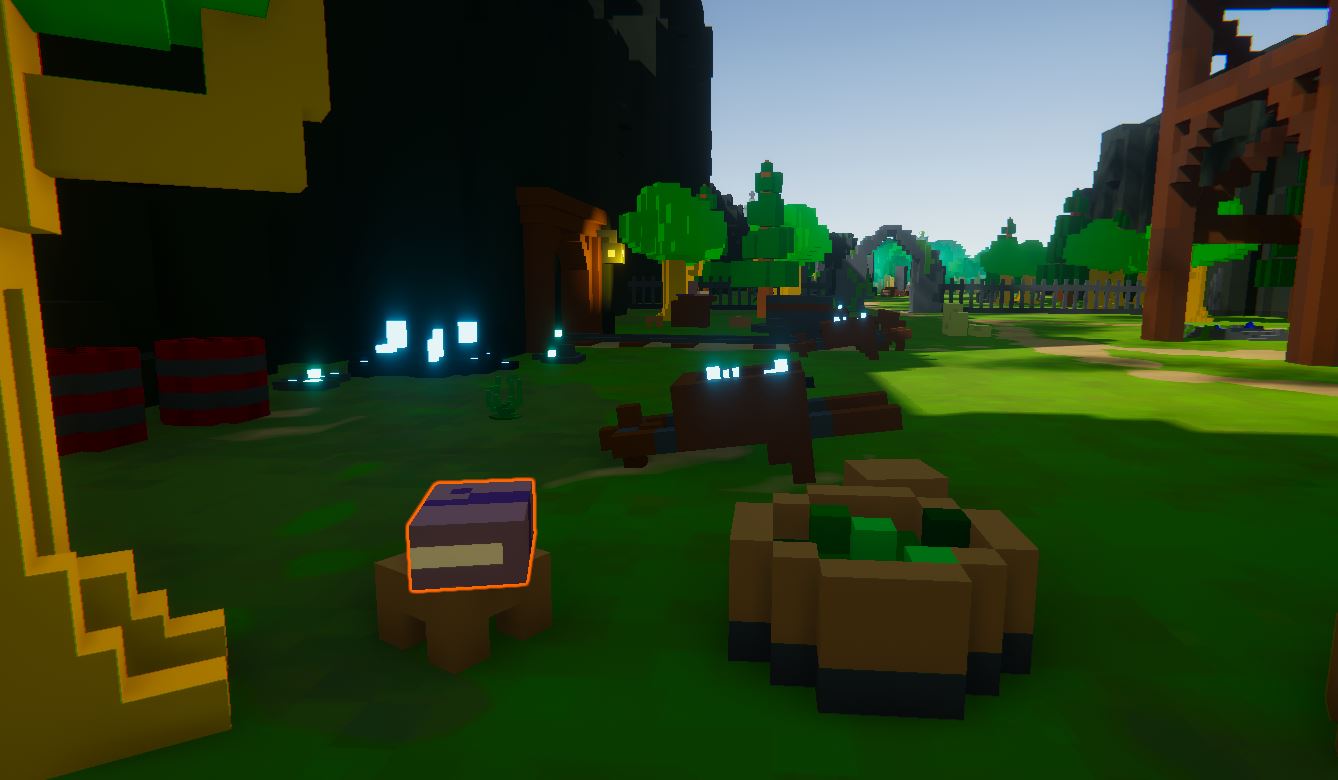
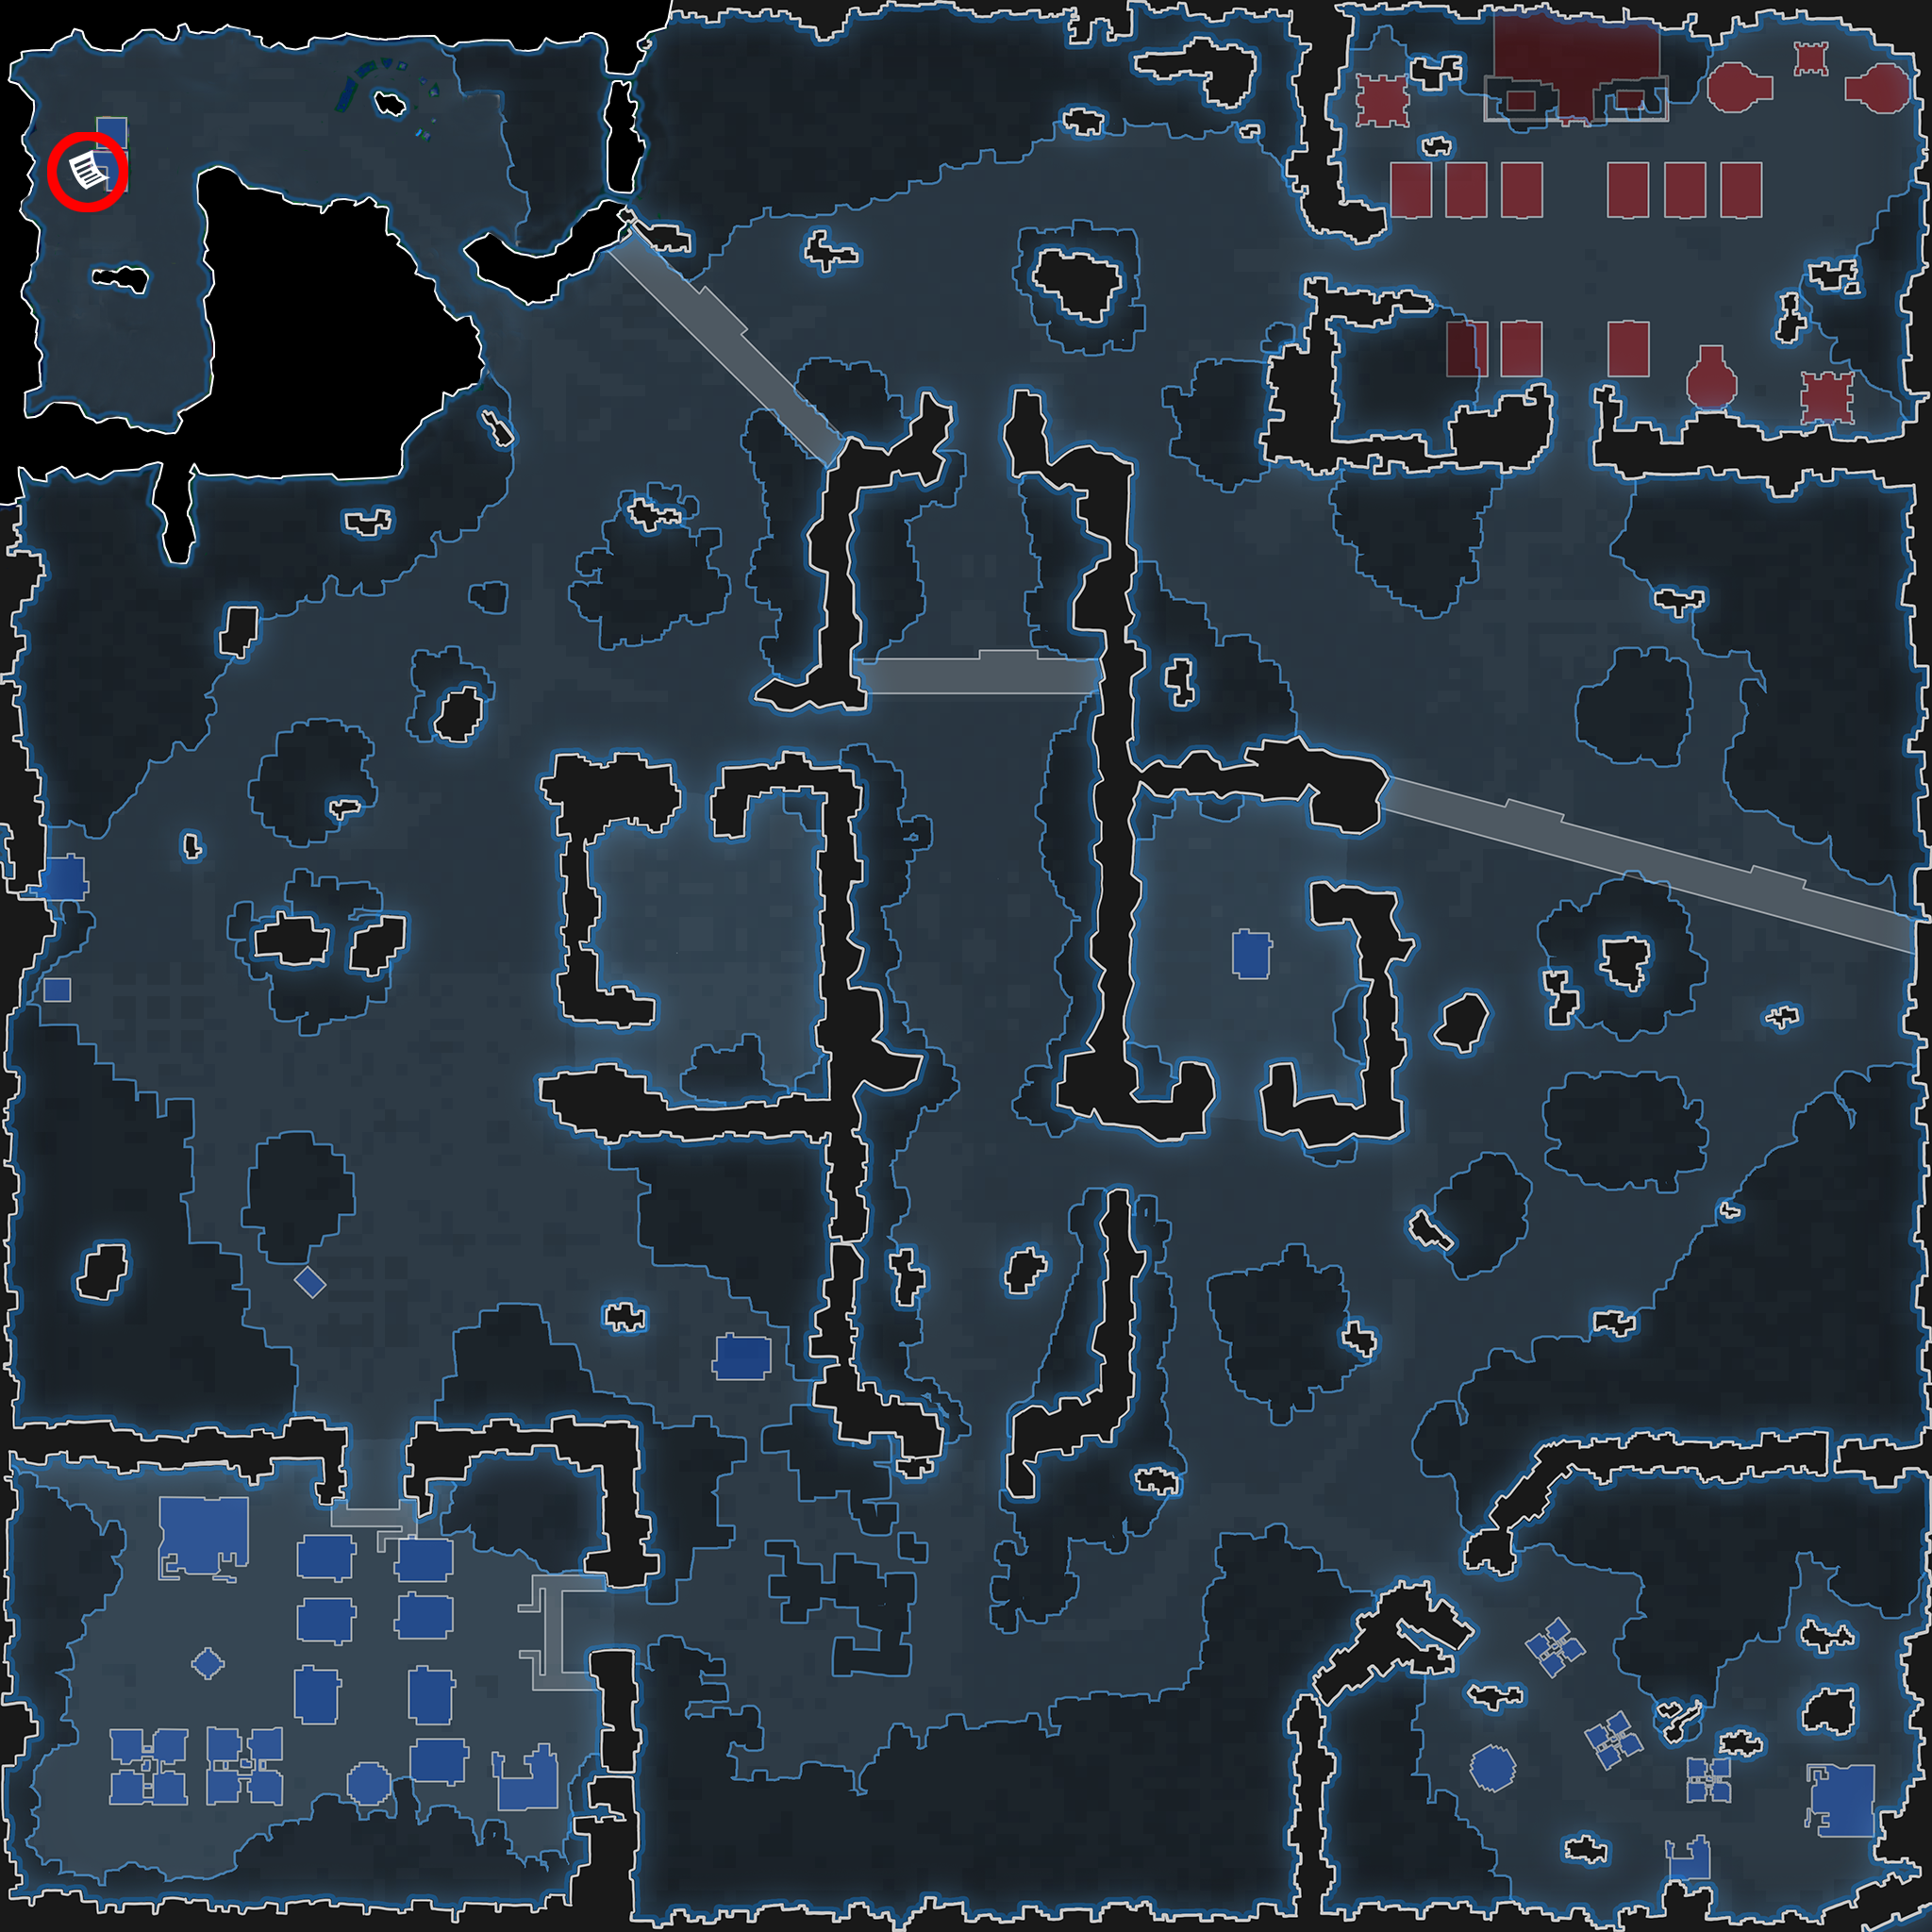
Scattered all throughout the RTS world are pieces of Lore that you can find. Some of the lore has been created by Ada, your AI companion and exists as USB drives. The rest of it was created by the AI that live in the world and exists in all sorts of different forms like books, scrolls, notes, etc. All of it will give you insight into what life is like inside the RTS world. In your JOURNAL you will find a LORE tab that will help you keep track of what you have found and what you haven’t.
Ada’s Lore will show up on the Map and the Compass with an icon that looks like a USB drive while the in-world lore will be displayed as a piece of paper icon. Search everywhere, as most of the Lore will not show up on the compass until you get within close range of it. Some of them will be out in the open and easy to find, while others might be tucked away in some dark crevasse, and still others won’t be accessable until you solve a puzzle.
Ada’s USBs[ | ]
Synopsis[ | ]
Scattered throughout the RTS world are USB Drives containing observations from Ada about life here.
Hint[ | ]
The majority of Ada’s lore are only acquirable by solving a puzzle. Observation and experimentation are key for solving them.
Locations[ | ]
Lore Item
screenshot
map location
Ada Dev Log 01
Ada Dev Log 02
Ada Dev Log 03
Ada Dev Log 04
Ada Dev Log 05
Ada Dev Log 06
Ada Dev Log 07
Ada Dev Log 08
Ada Dev Log 09
Ada Dev Log 10
Fearn’s Journal[ | ]
Synopsis[ | ]
Scattered throughout the RTS forests are pages from Fearn’s journal that give you more insight into her life.
Hint[ | ]
If you find a magical fairy, you might want to try following it.
Locations[ | ]
Lore Item
Screenshot
Map Location
Torn Page From Fearn's Diary 01
Torn Page From Fearn's Diary 02
Torn Page From Fearn's Diary 03
Torn Page From Fearn's Diary 04
Fearn's Tattered Diary
Human Town[ | ]
Synopsis[ | ]
Scattered throughout the Human Town are various books, scrolls and notes all containing samples of life from the various people that wrote them.
Hint[ | ]
Search everywhere. The lore will only pop up on your compass when you get pretty close to them.
Locations[ | ]
Lore Item
Screenshot
Map Location
A scroll on the front of the Mage's Tower
A scroll sitting out near the Armory
A plaque by the tavern
A plaque out near one of the gates
A book found on the fountain
A scroll posted on the wall of the Tavern
A journal sitting out on the stoop of a house
A note pinned to the front of the house at the edge of town
A very old letter in a barrel
A scroll on the front of one of the barracks
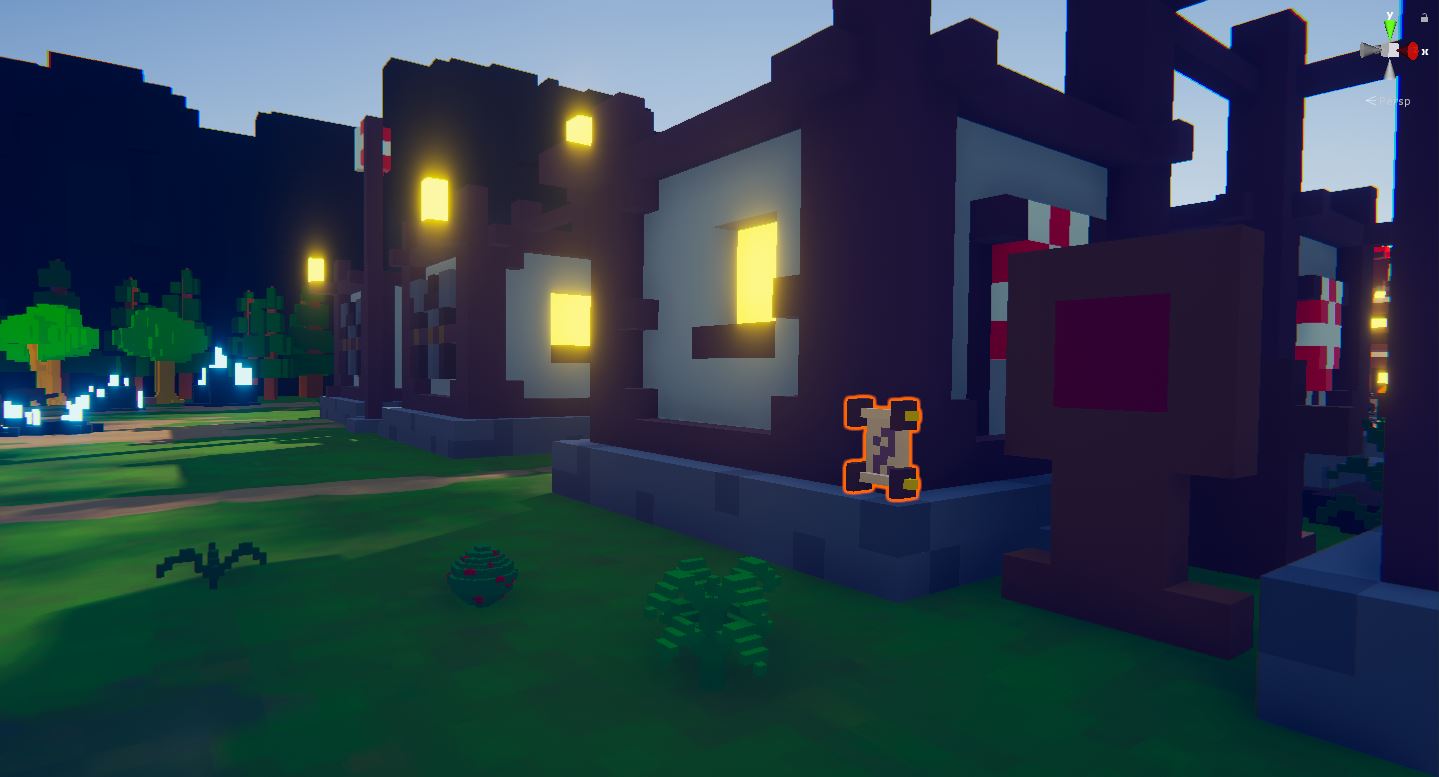
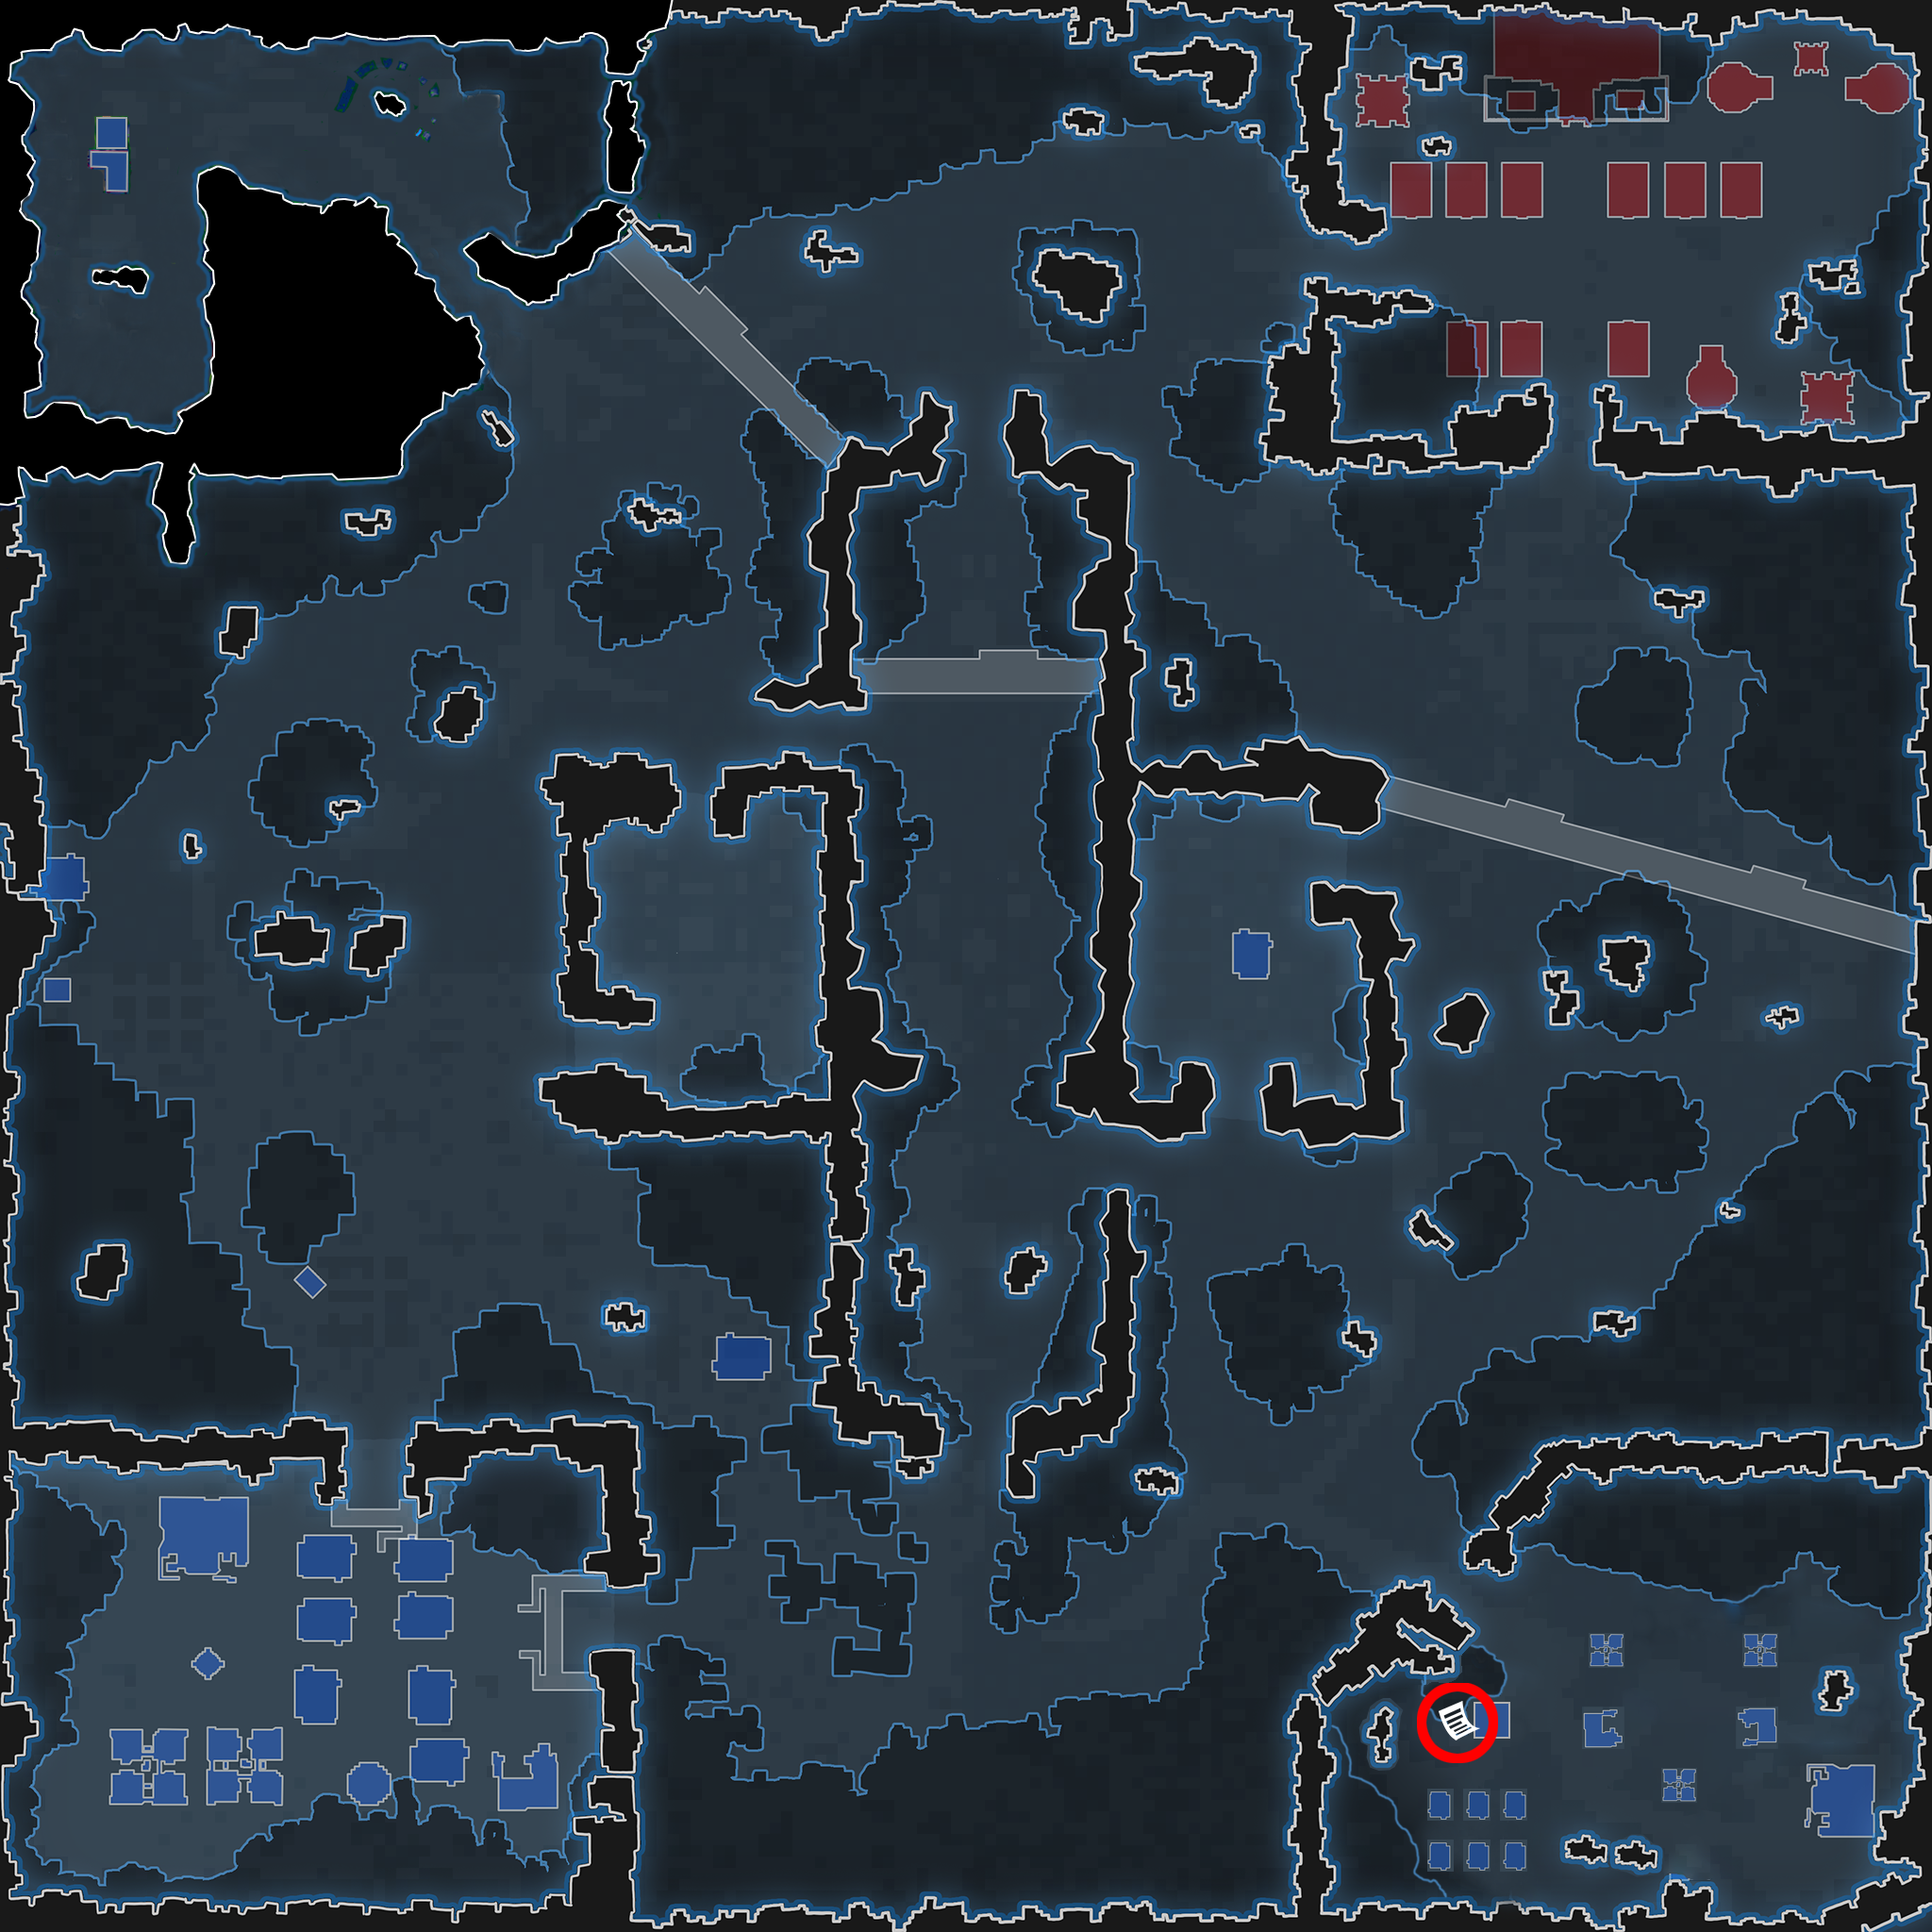
Undead City[ | ]
Synopsis[ | ]
Scattered throughout the Undead City are various items all containing samples of life from the various Undead that wrote them.
Hint[ | ]
Search everywhere. The lore will only pop up on your compass when you get pretty close to them. Some might be in out of the way spots.
Locations[ | ]
Lore Item
ScreenShot
Map Location
A plaque by the main entrance
A sign posted at the practice range
A tombstone of regular import
A journal under the Crooked Tree
A pamphlet in the Cathedral
Warrior Skills Showcase and Armor Pageant Signup Sheet
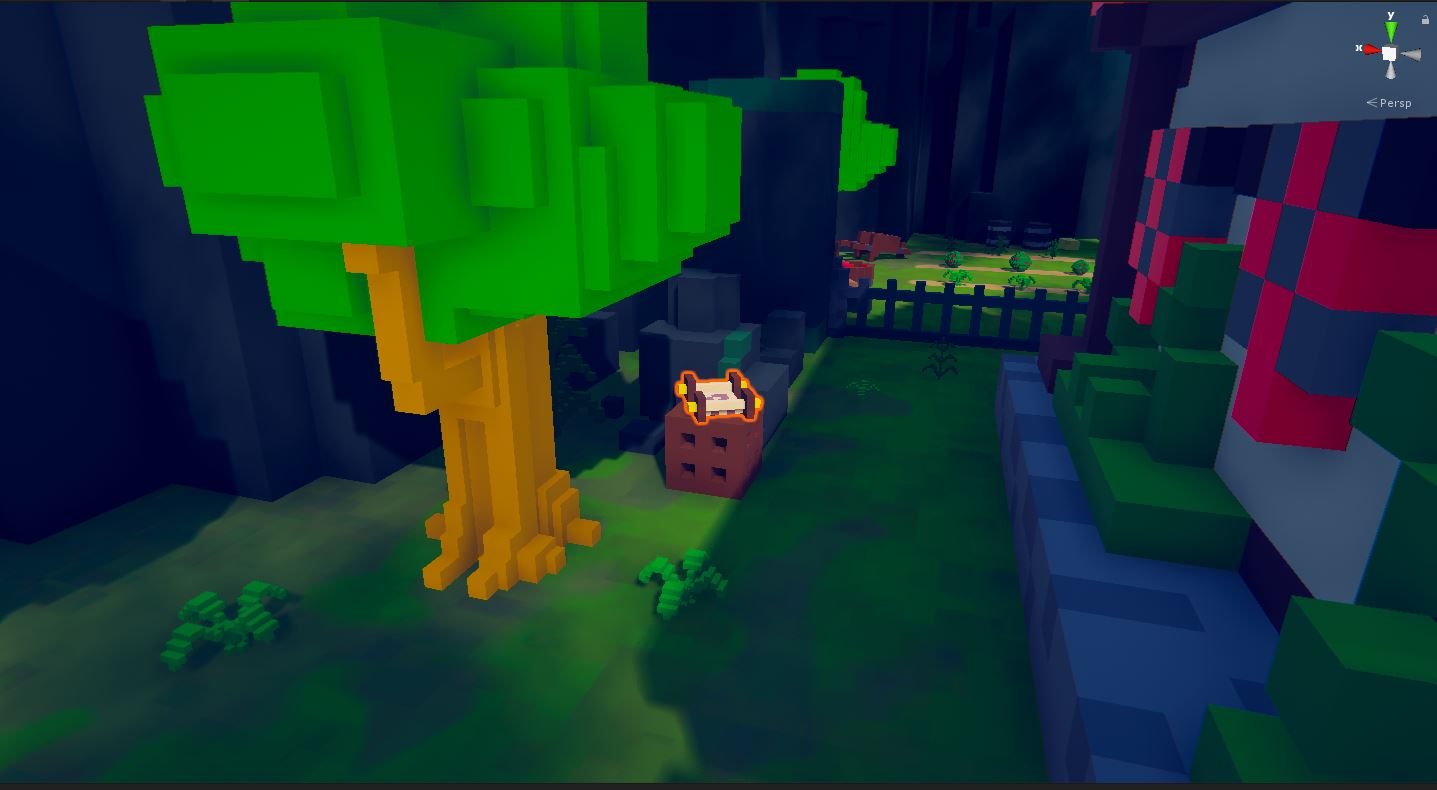
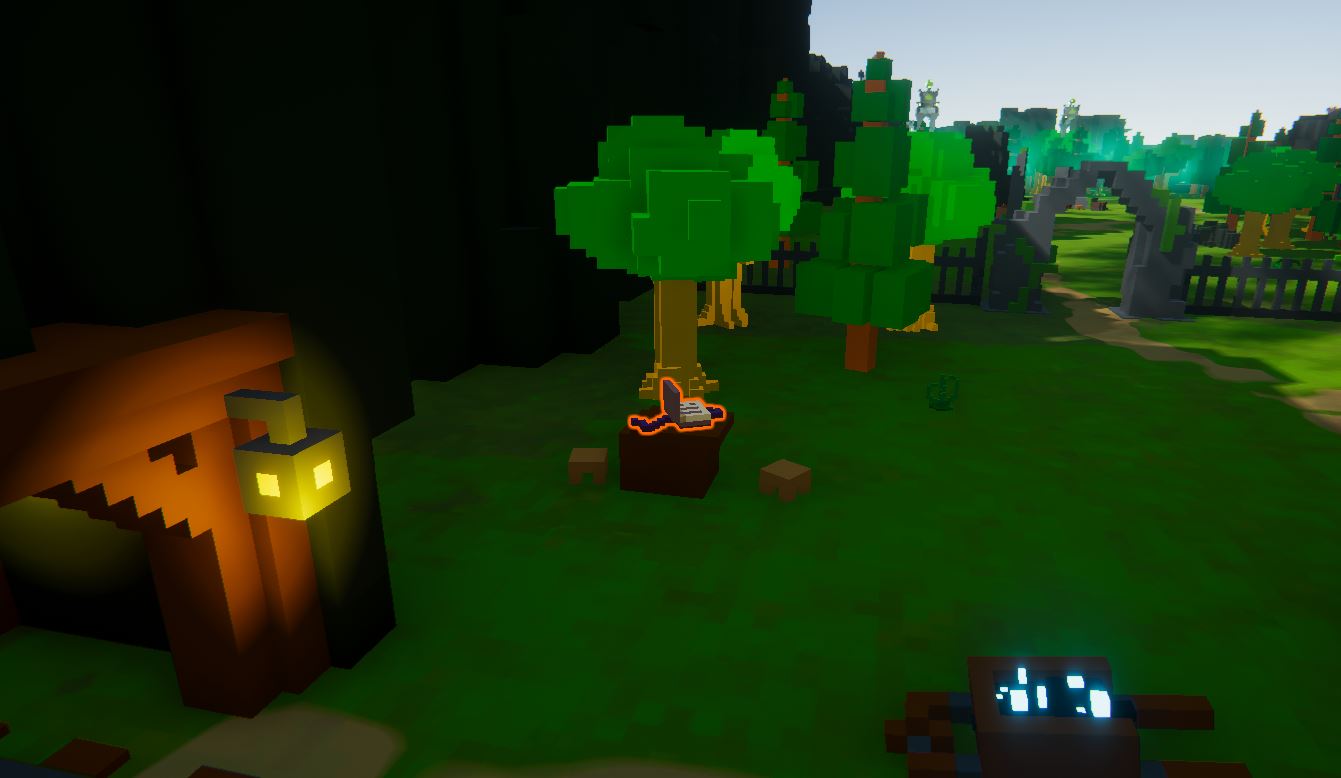
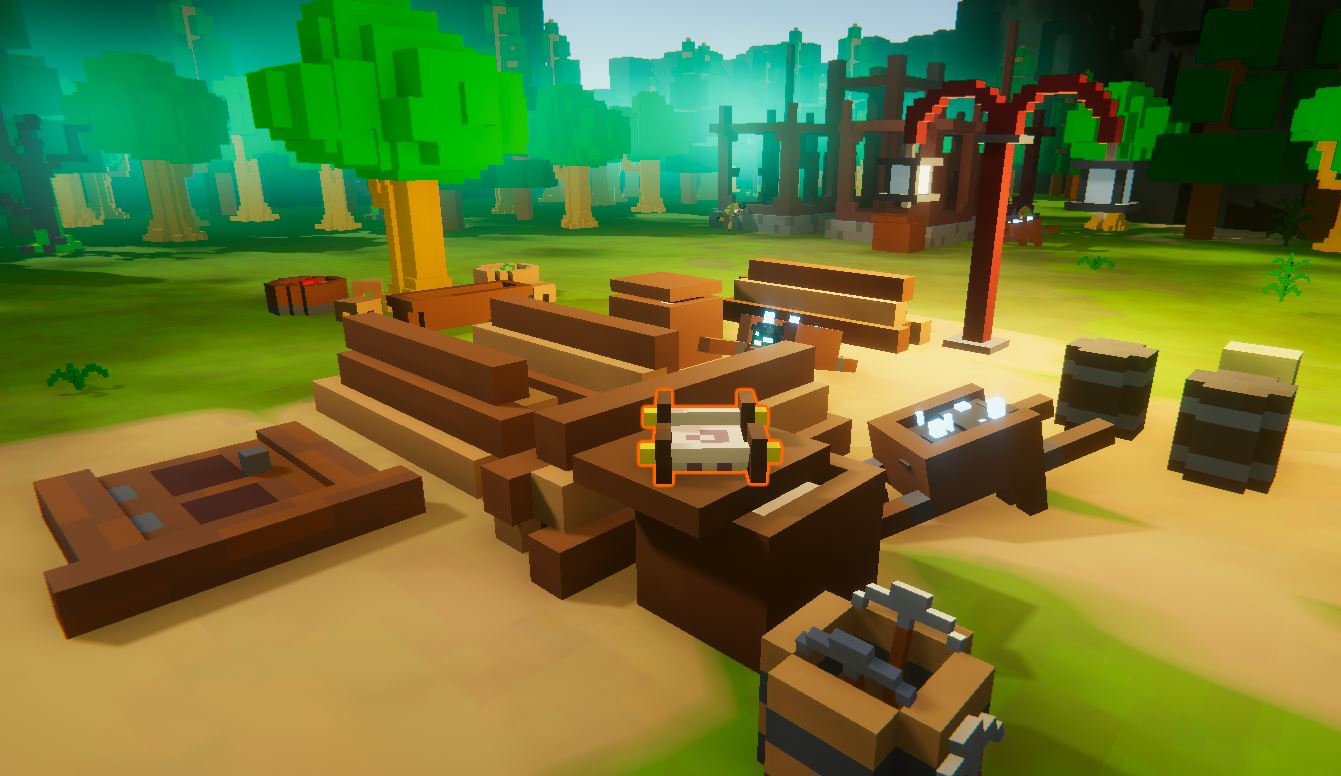
Mining Camp[ | ]
Synopsis[ | ]
Scattered throughout the Mining Camp are various journals containing the foreman’s thoughts about things happening there.
Hint[ | ]
Some of the journals are out in the open, others will take some creative thinking to acquire.
Locations[ | ]
Lore Item
Screenshot
Map Location
Mine Camp Foreman Journal 1
Mine Camp Foreman Journal 2
Mine Camp Foreman Journal 3
Mine Camp Foreman Journal 4
Mine Camp Foreman Journal 5
Mine Camp Foreman Journal 6
Mine Camp Foreman Journal 7
Mine Camp Foreman Journal 8
Mine Camp Foreman Journal 9
Mine Camp Foreman Journal 10
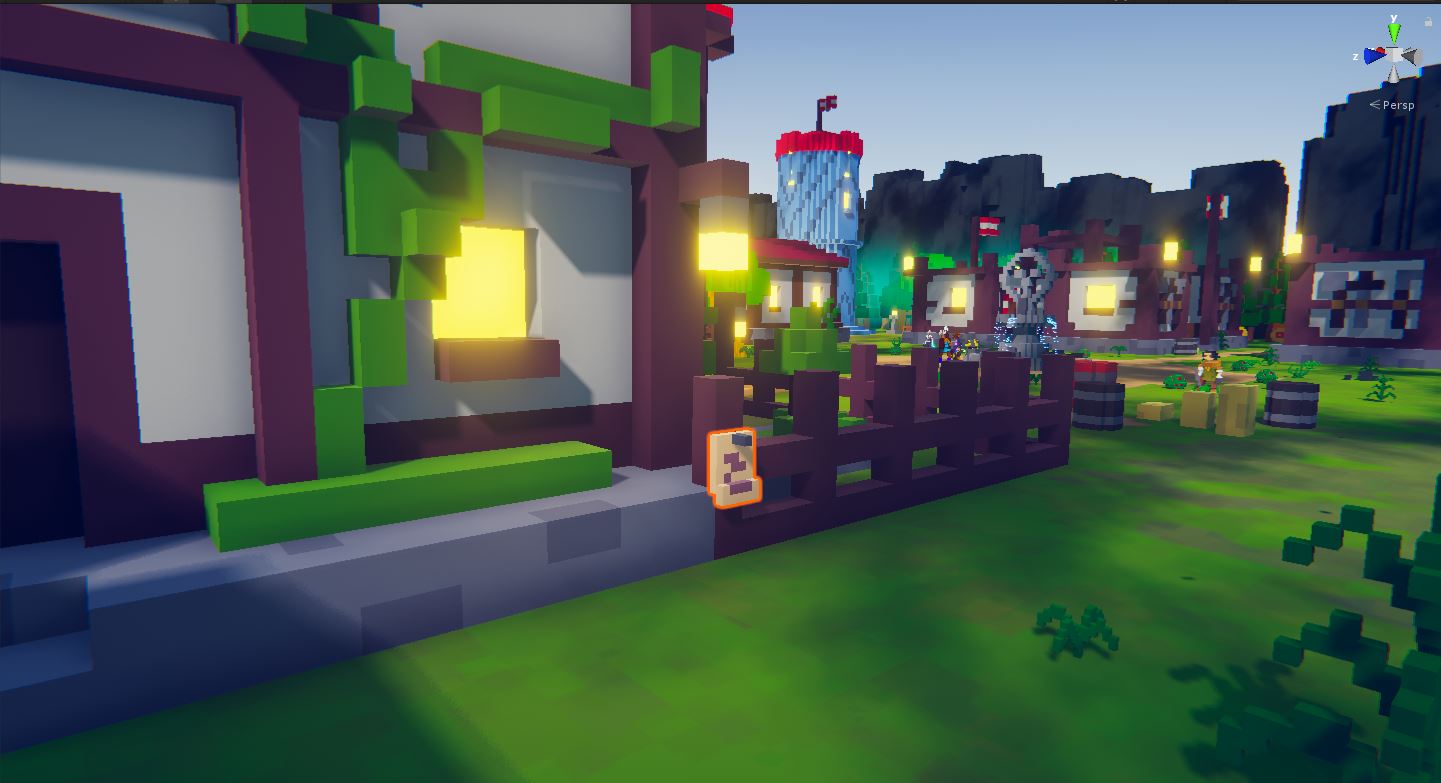
Construction Site[ | ]
Synopsis[ | ]
Scattered throughout the Construction Site (AKA New Village) are various books, scrolls and notes all containing samples of life from the various people that wrote them.
Hint[ | ]
Search everywhere. The lore will only pop up on your compass when you get pretty close to them.
Locations[ | ]
Lore Item
Screenshot
Map Location
A Plaque By the Main Entrance
A journal by the watchtower
A note on the new Hub
A discarded scroll
Pilbee's Adventure Vol 1
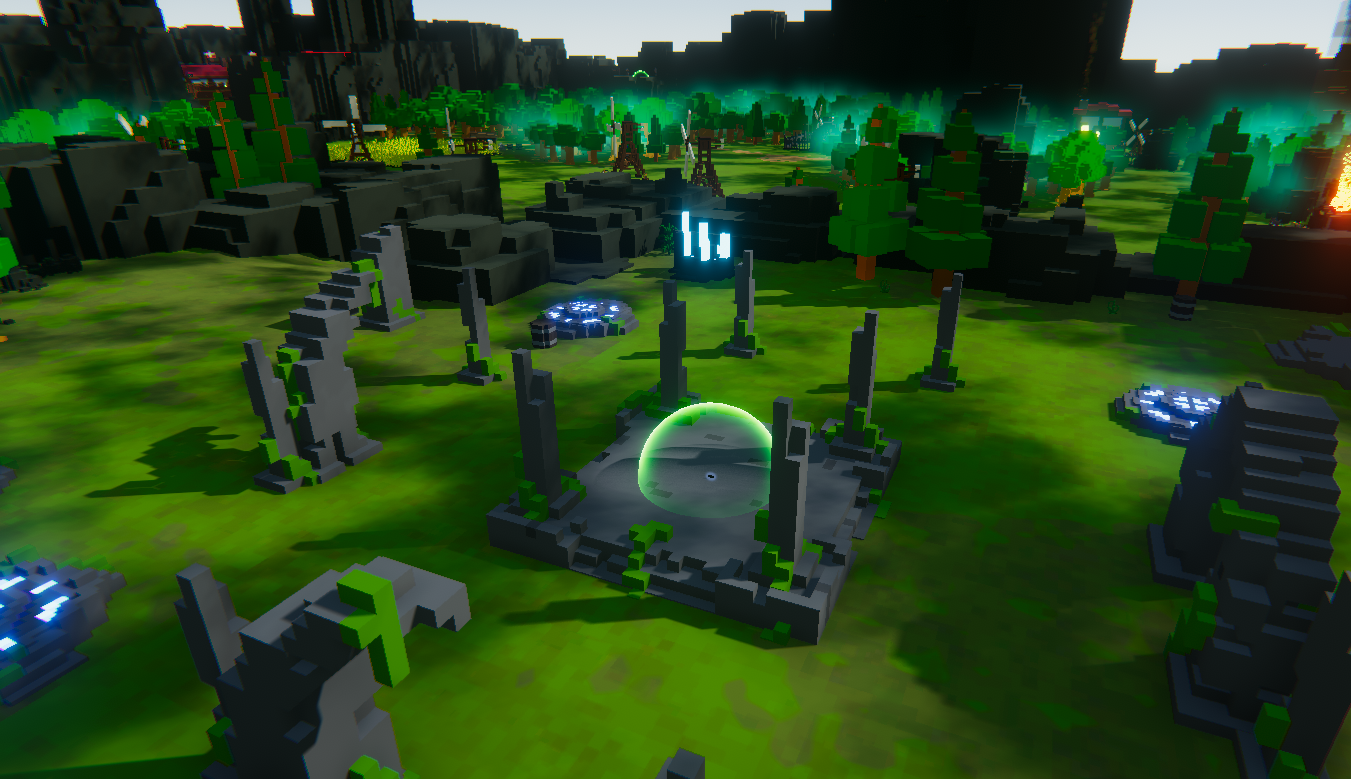
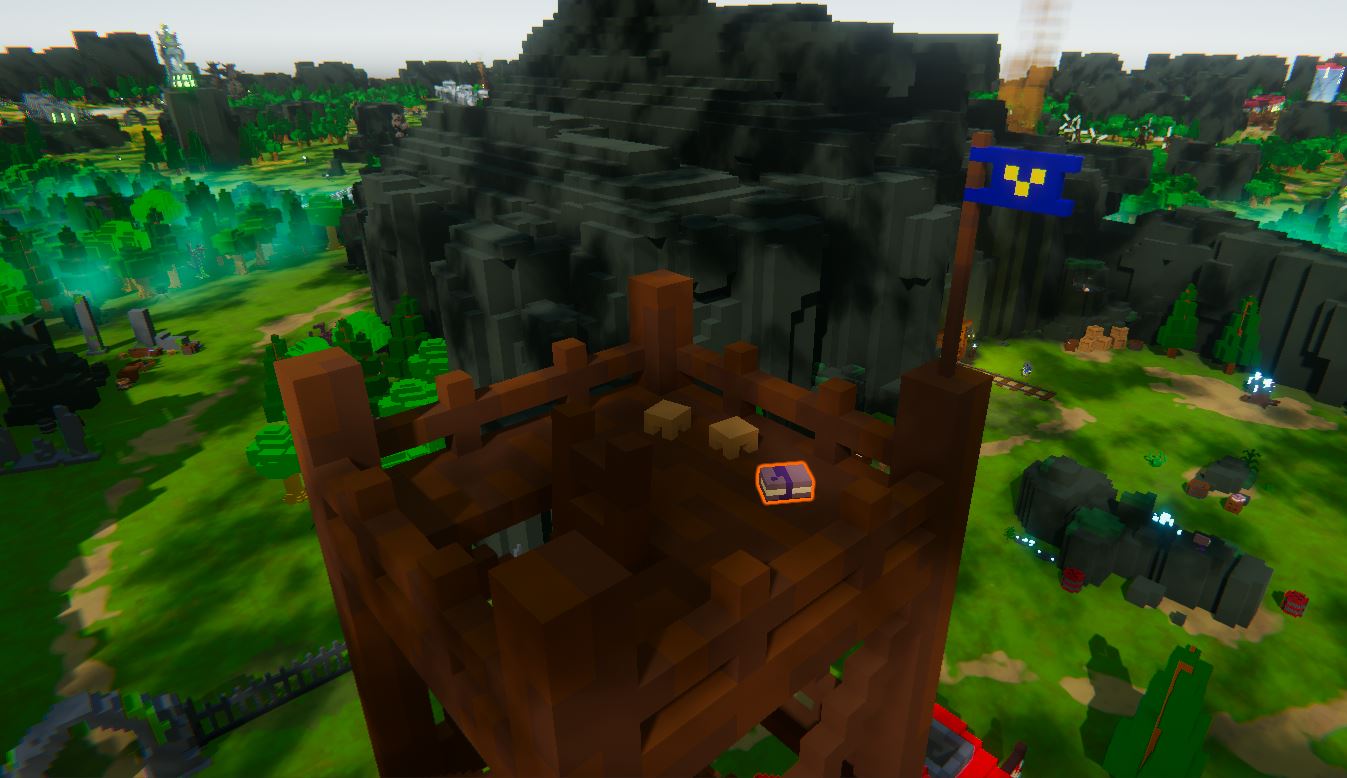
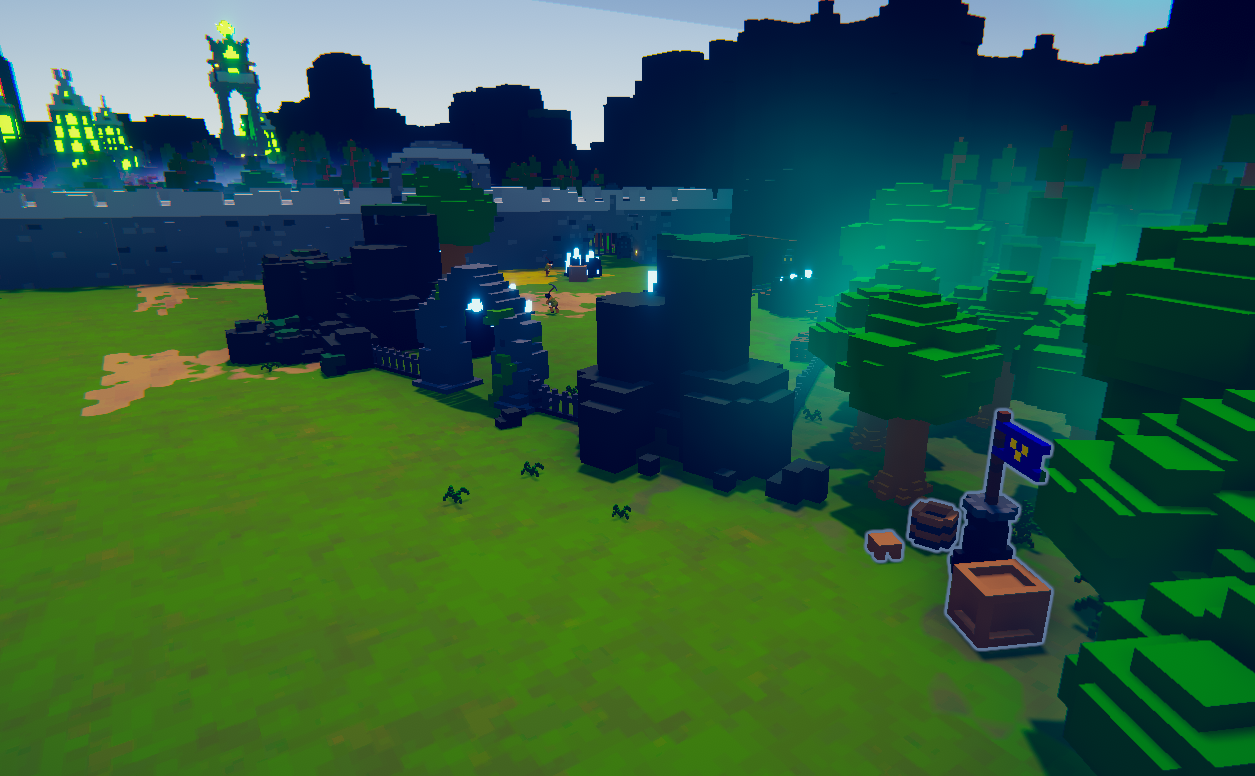
Respawn Towers[ | ]
Synopsis[ | ]
At various spots in the RTS World you can discover what appears to be a small tower with a flag on it, surrounded by a few crates. These objects are Respawn Towers. Towers must be activated in order for you to use them and you do so by interacting with them. Once activated they serve a dual purpose:
If you happen to die during Free Roam mode, you will respawn at the closest activated tower.
Also during Free Roam, if you open your map and click on one of the Tower Icons, you will find in the info panel next to it that you have the option to "Travel" to it. Clicking that button will instantly teleport you to that tower location allowing you to fast travel across the world. This only works during Free Roam! If you try to use it while you are on a Mission you will get a notice letting you know that you can't do it.
Hint[ | ]
Hint
Keep your eyes and ears open. The towers are usually off to the side, but not really hidden away so they should be pretty easy to spot if you are looking for them. There is also a magical sound emanating from them that can also help you track them down.
Locations[ | ]
Tower Name
Screen Shot
Map Location
Human Town
East Forest
Mid Wall
Windmill Farm
New Village
South Forest
Undead Territory
Crossover Mission[ | ]
Synopsis[ | ]
Somewhere in the world is a mysterious portal that takes you to a completely different land and when you arrive you embark on an adventure to aid someone there.
Task 1: Level Intro[ | ]
Synopsis[ | ]
Having arrived in the strange new land, Ada explains a little of what she thinks is happening and equips you with some new gifts to aid you.
Hint[ | ]
Hint
Listen to what Ada is telling you and pay special attention to to the new gifts you get, as they are necessary for this world.
Solution[ | ]
Solution
The only thing you need to do here is just pay attention to what Ada is telling you. She explains that you have now arrived in a new world, someplace completely separate from the RTS World. You might recognize the look of it from the opening Tutorial or if you played through the Core Academy games. It's the Platformer World. And since you are in the Platformer World, Ada has unlocked for you the three abilities that Capitan Blackclaw uses to survive in this world: Dash, Double Jump, and Head Stomp.
Dash is an active ability and can be swapped in to replace your Sword (the first time you arrive here that should automatically happen). It causes you to surge forward and do damage to everything you hit. Double Jump and Head Stomp are passive abilities and have now been integrated as part of your normal abilities. Double Jump allows you to press the jump button a second time to get extra distance and/or extra height on your jump. Head Stomp allows you to land on the head of an enemy after a jump and do damage to them.
Task 2: Defeat the Undead Forces[ | ]
Synopsis[ | ]
The bad guys have appeared and its up to you to take care of them.
Hint[ | ]
Hint
You have been gifted with some new abilities. You might want to try them out.
Solution[ | ]
Solution
Ada explains that she has picked up the same sort of signal that heralds the arrival of the Undead Forces in the RTS World. And sure enough, a handful of them come out to meet you. She instructs you to take care of them quickly, which you can do thanks to the new abilities she has unlocked for you. You don't have to use them (the Sword and your Modify Health tweak are still very effective) but using Dash will allow you to quickly take out large groups of enemies.
The Undead Forces will head towards towards you and towards the boat nearby. It is your job to defeat every one of them. Doing so will trigger your next task. Because of their size, sometimes it can be easy to miss seeing them. You might have to search all around the boat area to find all of them.
Task 3: Approach the Boat[ | ]
Synopsis[ | ]
A strange voice triggers your interest in the near by boat.
Hint[ | ]
Hint
You might want to check out the boat.
Solution[ | ]
Solution
After hearing someone call out to you, icons will appear in world and on both the map and compass indicating to you where to go. All you need to do is head to that spot.
Meeting Pilbee Cinematic[ | ]
Synopsis[ | ]
You meet a new friend who asks for your help in escaping the island
Task 4: Follow Pilbee[ | ]
Synopsis[ | ]
You start following your new friend and begin your new quest.
Hint[ | ]
Hint
Stick close to Pilbee, the worker from the boat.
Solution[ | ]
Solution
All you need to do is follow Pilbee. He will lead you to each challenge you must face and overcome in order to help him escape from the island. If you lose track of him, his icon is always on the compass, and the map will point out the location you need to go to.
Task 5: Solve the Ruins Puzzle[ | ]
Synopsis[ | ]
You have been led to some ruins that seem to block your way.
Hint[ | ]
Hint
You might need to rely on your ability that helps you fix things
Solution[ | ]
Solution
You have been lead to a set of ruins which appear at first glance to be a dead end for Pilbee. But if you open your Lenses, you will see that you have the power to manipulate some of the platforms there. There are four platforms you will need to adjust to line them up correctly so Pilbee can continue on his way.
The solution for each one is rather easy, as all you need to do is move the only slider value available to you until the piece locks into place in the correct location. The first two platforms require you to adjust their Rotation and the next two require you to adjust their Position.
Task 6: Solve the Switches Puzzle[ | ]
Synopsis[ | ]
Pilbee leads you to the edge of a volcano that doesn't appear to have a way across.
Hint[ | ]
Hint
Visual and auditory clues will help guide you to where you need to go, so keep your eyes and ears open.
Solution[ | ]
Solution
Arriving at the lip of the volcano you will see something on the opposite side spring to life with a burst of glowing energy. There are a set of ruins on both sides blocking your path to it, but thanks to your Double Jump ability, you can easily get past the ones on the right.
Once you make your way past them you will see that the glowing object is some sort of switch. Standing on that causes the glow on it to stop and another switch to light up. This one is on the top of the other set of ruins. Once again you can navigate to the top of it easily with your Jump ability.
Standing on that switch causes a third to light up in the temple-like structure that will be right in front of you. Some skillful jumping will get you over to it and allow you to flip the third switch. Doing so will cause a pathway to rise up out of the lava and allow Pilbee to get across.
Task 7: Solve the Final Puzzle[ | ]
Synopsis[ | ]
Pilbee has arrived at another impassible barrier and needs your help yet again in order to finish his journey.
Hint[ | ]
Hint
The final puzzle requires you to observe your surroundings in order to figure out how to get to it, and then you will have to rely on some of your other skills to finish getting Pilbee to safety.
Solution[ | ]
Solution
You will see a fourth and final switch light up, but this one requires a bit more skill to get to. The first challenge facing you is getting across a set of floating rocks. Some skillful jumping across each of the rocks will get you to the other side. If you do fall here, the middle rock will go all the way to the ground level and you can hop back on it there.
You will then notice a floating platform that seems to stop at the temple where the switch is located but there doesn't seem to be any way to get up to it. If you watch its path though, you will see it head over to another temple-like structure located on the third volcano, and that one has ramps leading up to it. So your objective is to make it over to that other temple and ride the platform back to the switch temple.
Getting to it will require some serious jumping skills and you might need to rely on a "Double jump then dash combo" to get across. You get the most distance if you press the Jump button the second time towards the ending arc of the first jump and then press the Dash button at the end of that second jump arc. Once you make your way across to the third volcano and onto the temple, you just need to wait for the platform to arrive and you can climb aboard and ride it all the way back across to the switch temple.
Once you flip the fourth switch, the rocks will stop moving and form a path that Pilbee can get across. But the job is not over yet. Undead Forces begin appearing again and you need to take care of them so Pilbee can safely make his way along the lip of the volcano to the Portal. There is no one solution here, just use whatever you like that will get rid of the enemies blocking the way. Be careful if you use Dash here though because if you overshoot, you can sail right off the volcano and will have to work your way all the way back up.
End Cinematic[ | ]
Synopsis[ | ]
Pilbee thanks you for your help and you send him on his way.
Once the cinematic is over, you have to interact with the portal yourself in order to make your way back to the RTS World.